|
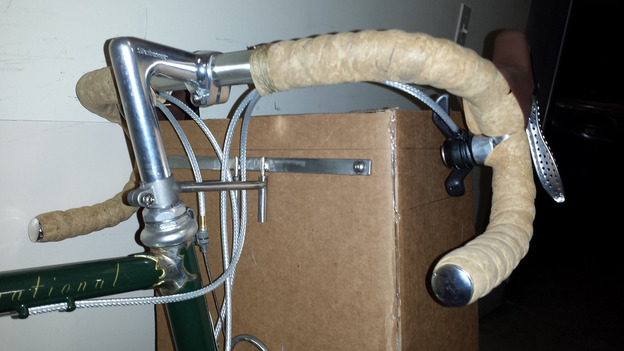
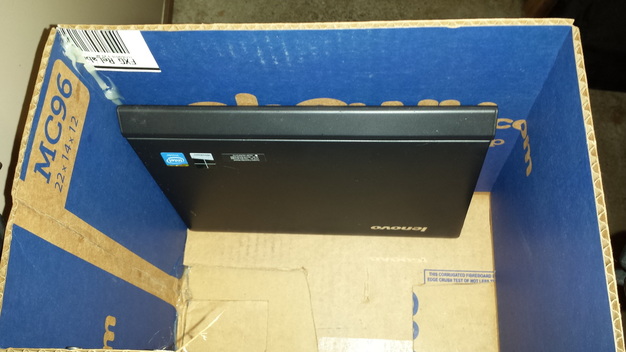
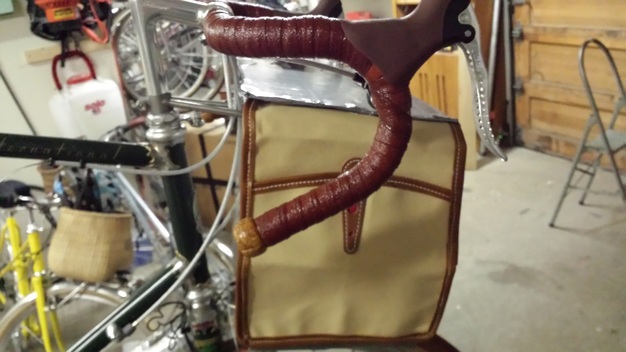
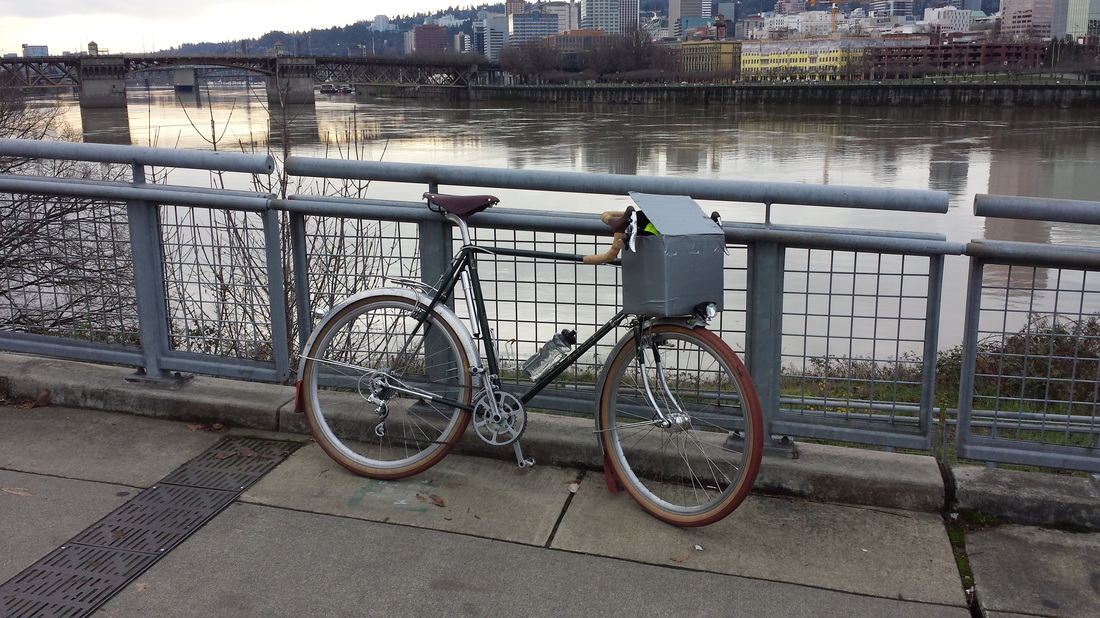
This is Mark's cardboard mock up. Note the need to fit the bag within the shifters located on the inside of the handlebar drops. His model also allowed him to check both the height, but also the reach of the decaleur. If I light were affixed to the top of the rack, he'd be able to check that too. (All photos courtesy of Mark G./Flickr) Deciding on size and color can be challenging. Some folks know without hesitation what they want, others are less certain. Here's the story of one customer who didn't leave anything to chance: Mark G. of Oregon is an exceptional craftsman, wielding a torch with deft precision and bending a fork radius with exacting care. Not surprisingly, when it came to planning for his bags he made sure he knew exactly where he was going before we started the actual bag making process. You can see here Mark was thinking about typical stuff that he'd be carrying in his bag that he needed to account for. Using cardboard, he mocked up his bag and was able to mount it atop his rack and make sure it fit where he wanted it to. A front bag sits within a virtual box defined by the decaleur, the rack, the handlebars and the brake levers. (Were a light mounted at the front of the rack he’d have been able to make sure there was no issues there either.) In addition to the functional concerns, his mock-up allowed him to look at the overall proportions in relationship to the bike. Too tall? Too narrow? Cardboard is cheap and easy to modify and takes a good amount of guessing out of the process. (Its worth mentioning here that 90% of the bags I make tend to fall within a reasonably narrow range of dimensions, so even if you aren’t interested in going through the work that Mark did, we’ll have a good sense of what’s appropriate for your bag. Any unusual measurements would be thought through before proceeding.) In the meantime I sent Mark a small package of canvas swatches with leather trim options. This facilitated choosing the colors he wanted and I was then able to send him a test panel that he could affix to his bag-box. This allowed him to get a feel for the color choices in relationship to the frame and components. There’s nothing like being able to see all the elements together to know if your ideas are going to work the way you’d like. Here Mark has fixed the sample panel I made for him to the side of his text bag, allowing him to step back and take in the overall impression with the entirety of the bike. This Mark character is a wise man... See that light mounted on the front of the rack? The box and the light aren't exactly getting along here. It's time to get out that box cutter and resize the bag (or relocate the light if you need a bag this big). I do my best to make color suggestions, but I’m learning as I go and sometimes combinations that wouldn’t occur to me look great, while other times what I would think seems like a logical pairing isn’t quite as strong as I would hope.
I you want to leave nothing to chance, do as Mark has done, but if you want to just talk it through and rely on our mutual ability to sort it out, that works too!
3 Comments
12/22/2019 11:53:18 pm
Coming up with a bag design is kind of complicated, especially if you don't have an eye for colors. It is complicated in a matter of not knowing if you are putting less or more! That's why you need to tap your creative self to know if what you are doing is right! Based on your suggestions, I am pretty confident that I can pull off a good design for a personalized bag. Well, I am not sure, but I have high hopes that I can do it! But still, I need more advices from you so I would love to get more suggestions from the expert!
Reply
Leave a Reply. |
D. CainCyclist and craftsman. Archives
January 2022
Categories |
Copyright © 2023

 RSS Feed