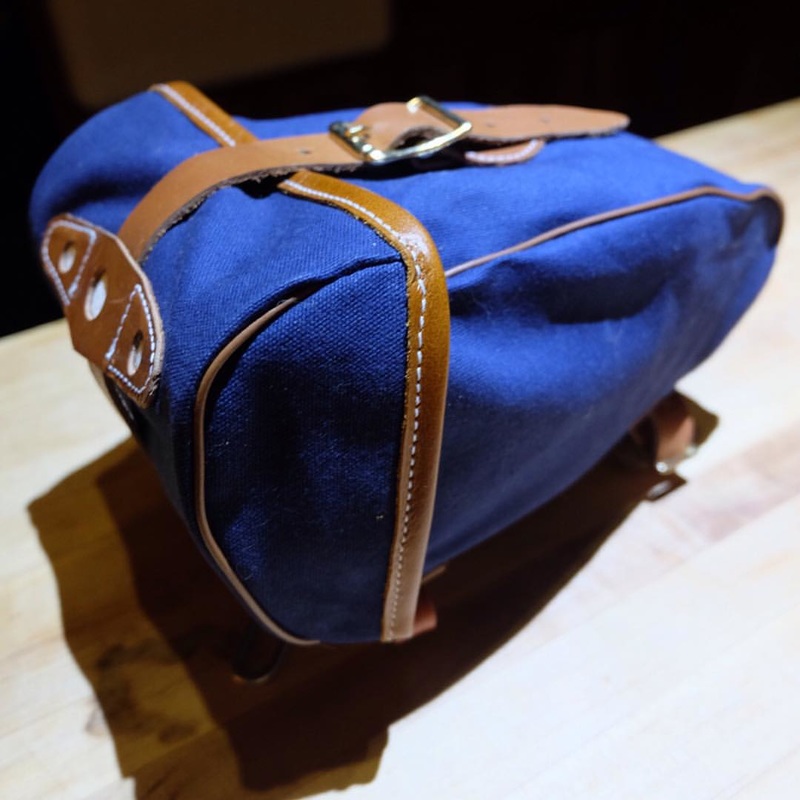
 A customer has been reminding me for a while that he'd be interested in a small saddlebag, which I am happy to make for him. The fact of the matter is that I've made a number of saddlebags, but hadn't made one quite like he was thinking about, namely a compact bag that nestles under the saddle and hangs off either the rails or the saddle loops. Making a bag is pretty easy once the design, details and pattern are all worked out, but getting to that point is an iterative process that requires a lot of working, tweaking, testing, reworking, etc... So, I've been evolving a small saddlebag over the last month or so. Starting with sketches, then making a first stab at bag with no finish details to see how the shape, mounting, and function pan out.
Following the first test bag, I think I made at least four versions of the bag, with numerous modifications along the way before feeling like I was ready to send off a test sample to this customer (who really is part-collaborator part-client, which is a relationship I like) for his take. He had some good feedback and now I feel like I'm ready to roll with this charming little bag. I've had one on my bike for the last month or so to hold the standby items I always keep with me (rain shell, tool roll, reflective vest) to allow room in my handlebar bag for the numerous extras cold weather riding requires.
2 Comments
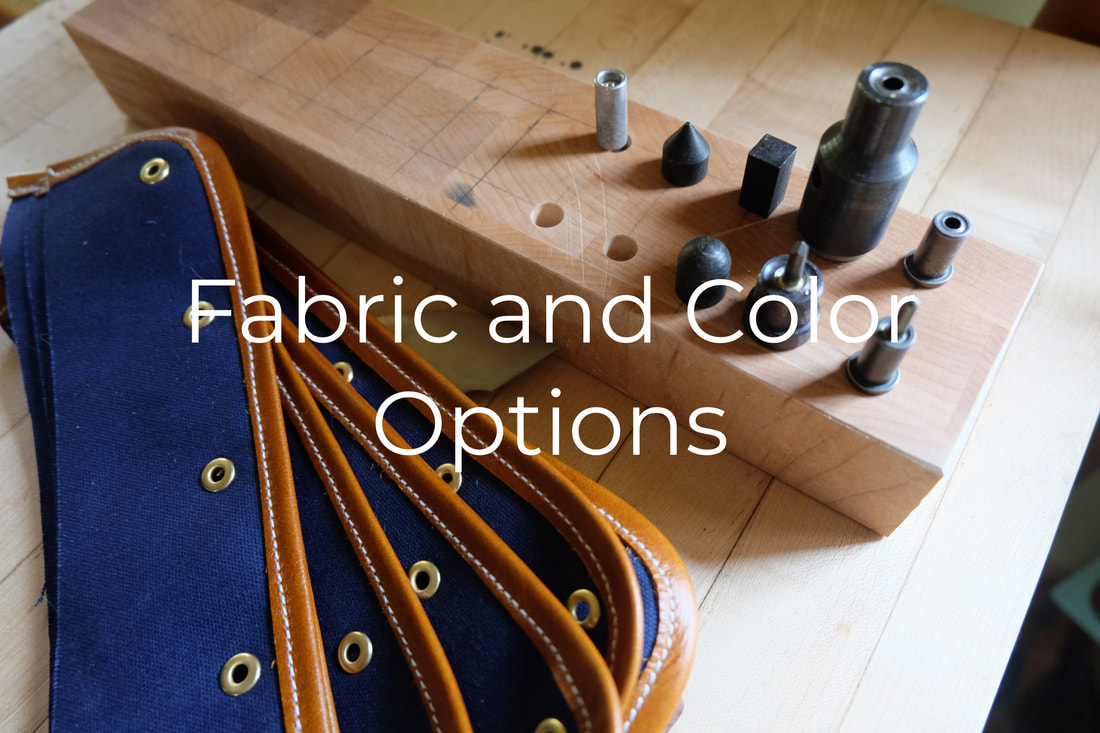
 Funny how moving one part into place opens things up. While we were on vacation last February, walking on a beach with our friend John, it suddenly came to me "Waxwing" bags. I told Nancy and John and the idea was greeted warmly. I knew it was going to stick, unlike the many previous stabs which never felt quite right. Having the name in hand allowed me to start doodling and playing with logo ideas, and slowly the image above has taken form. It will likely evolve further, but I'm happy enough with it that I finally decided to get patches made. They will now go on all bags I make. Its a sign I feel solid enough about my work that I'm willing to attach a name to it. Fun stuff for sure! 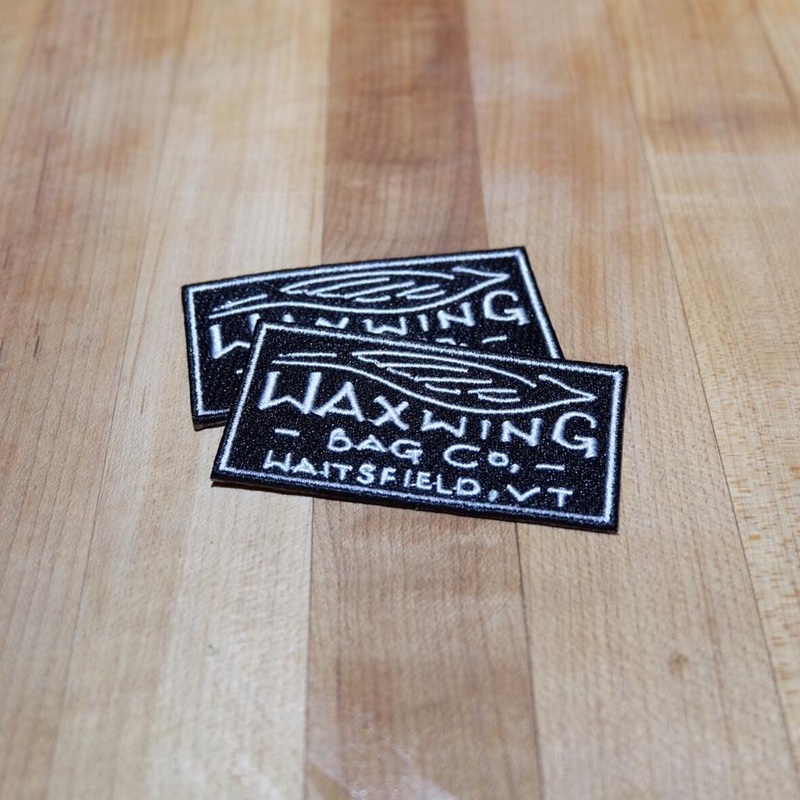 The patches, made by Falls Creek Outfitters in Pennsylvania. 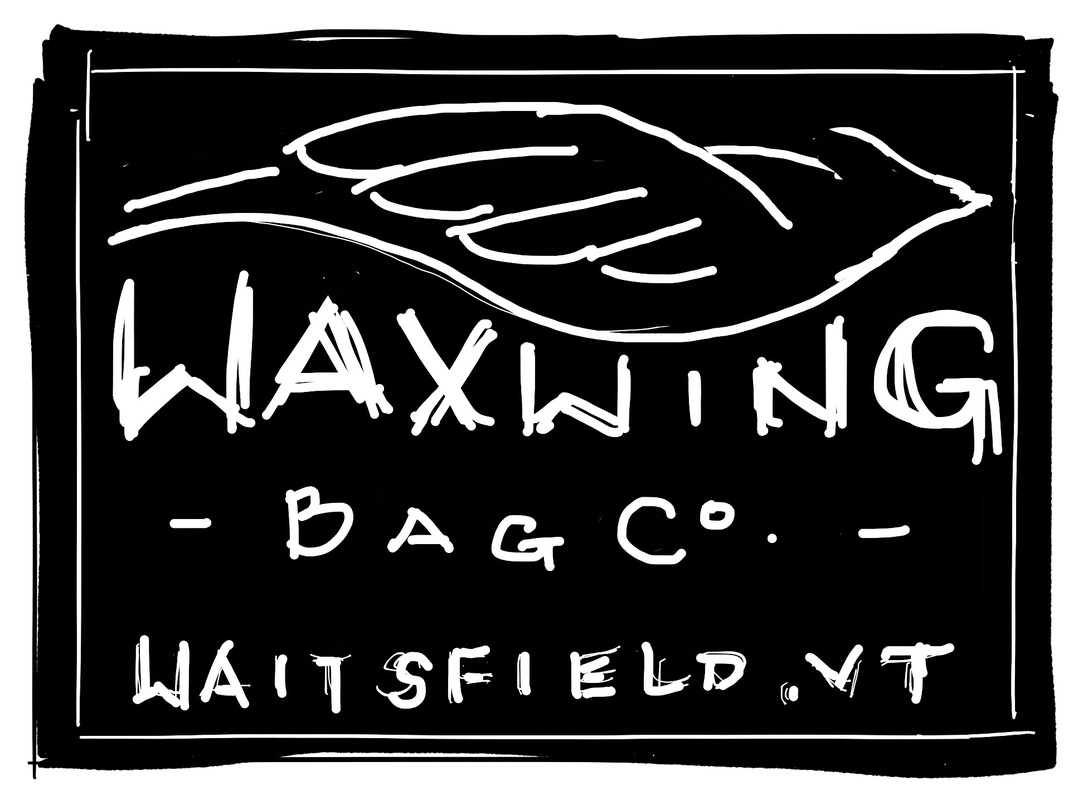 I took the sketch below (done on an iPad with 53's Paper app) and moved it over to Illustrator where I spent a bunch of time cleaning it up and trying to balance letters and give the waxwing some flow. I wanted to have a clean image but keep the handmade quality of the design, and I"m quite happy with where it landed. For future iterations of the patch, I'll beef up the lines of the bird and probably drop the town/state lettering. Like any design, its possible to keep messing with it forever, so at some point I just said good enough and got the patches produced, and I'm glad I did. 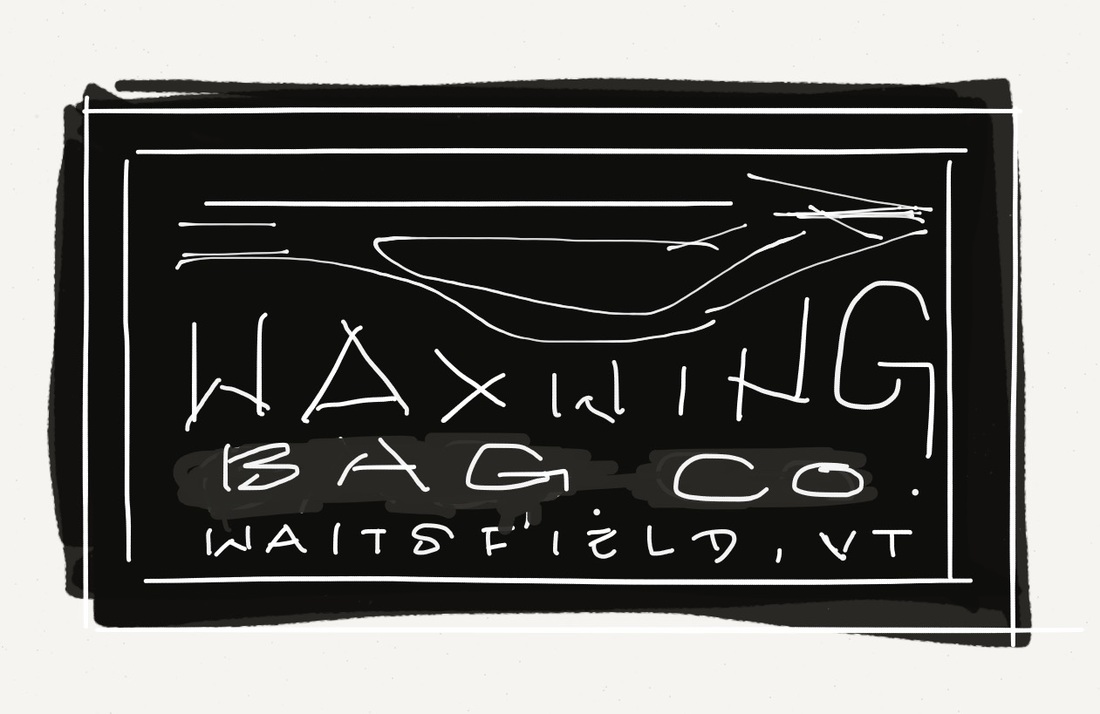 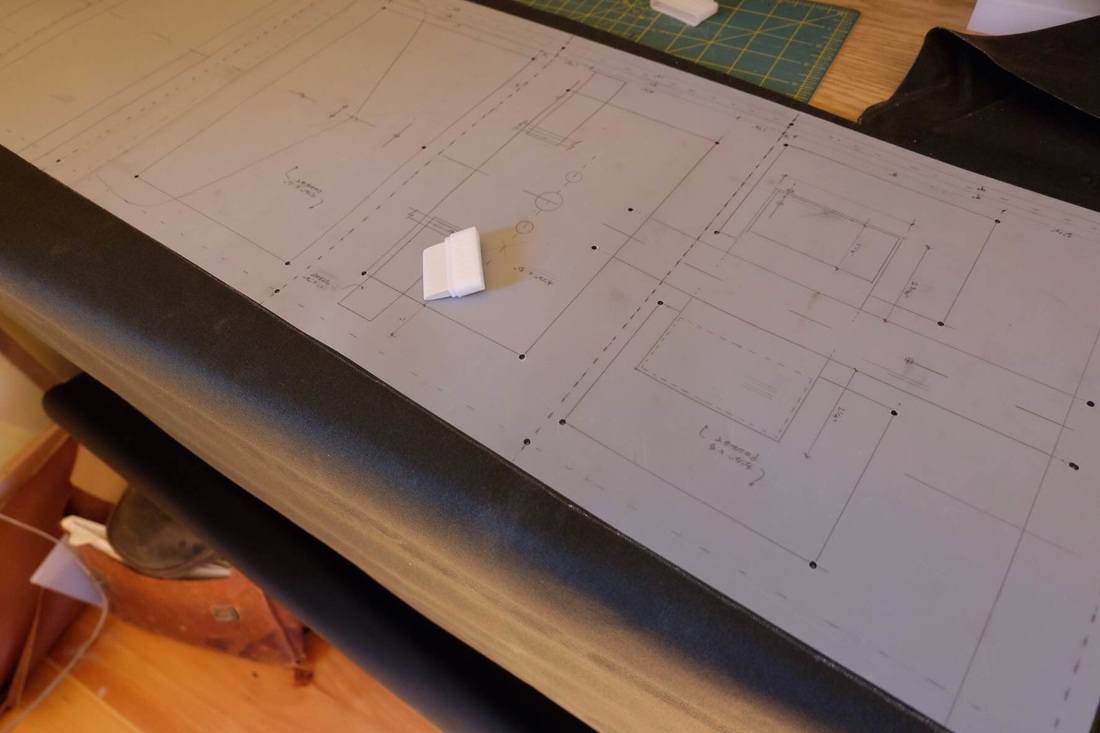 I've been consciously thinking about two main criteria driving my work lately: Proportion and Technique. I find myself pursuing each with a kind of doggedness. Every bag I make is a journey through how I make the bag, and then, when its done, noticing my impression; is it good? Why? Is something off? What is it? What's the weakest element? Process, design, execution, technique all funnel into the creation of each bag and bringing them together is my job. On the technique side I am always asking questions: Is a given step reliable and repeatable and does it deliver predictably high quality results? Sometimes the issue is a question of having, making or buying the right tool, sometimes it is a matter of sewing skill. I find myself constantly examining myself working. Am I uncertain about the next step? Is it a challenging move? Is there a way to take the concern out of the sequence? This is important, but it is also fun. I love process; and I love efficiency, and I love quality. I will be doing this forever. At the same time, I critique every bag I make once it is done. How did it come out? What are it's strengths? What are its weak points? What mistakes did I make? What is the overall impression? For a good while I think that my attention has sided a little more towards technique and have only made small adjustments to the design. Proportions are subtle, but they matter immensely. They are the difference between utility and beauty. And they can be hard to pin down. Luckily I have the bags of the big producers, my own bags, and the bags of other small makers to look at and compare to. I've recently spent time charting the various sizes of bag that I have or am familiar with and tried to distill what I think would be a good large, but not too big, handlebar bag. Its hard to know until the bag is complete and sitting in front of me, but thats okay, I know I'm in the ballpark and each bag is a refinement. I have sometimes made simplified versions just to check the overall sizes before I commit to a fully detailed execution. with this recent analysis of size and proportion, I've updated my pattern to be a more useful tool in the making process. The location of each pocket, each fold, each seam, etc.. is drafted on the mylar template. My aim is to avoid having to measure an existing bag to determine the location or placement of a given part. Crucial junctions have small holes punched in the plan which will allow me to chalk the points onto the fabric it's self, which should introduce repeatable accuracy, and save time re-locating the assembly again and again. 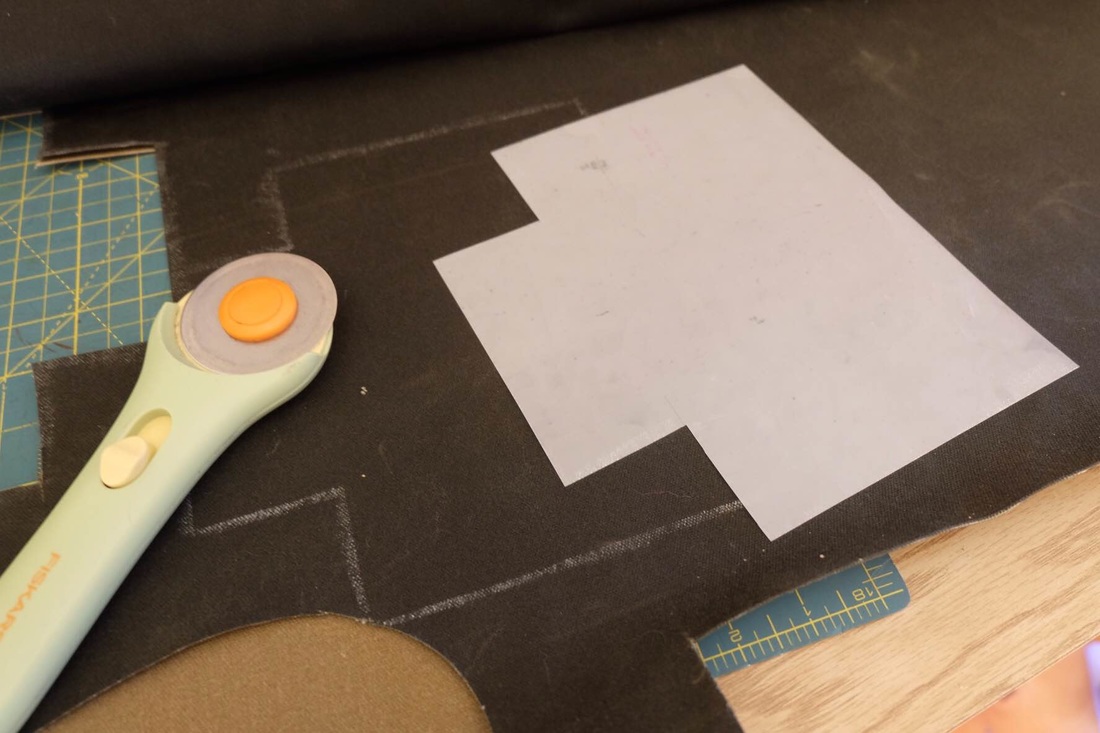 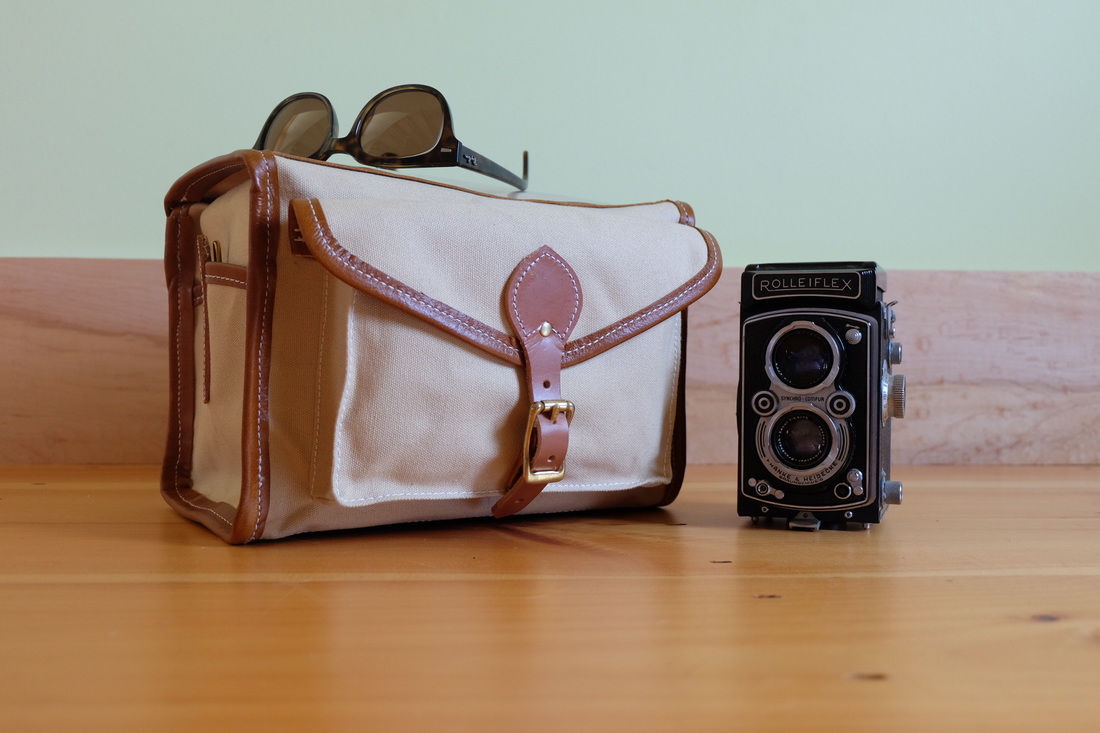  Tom Matchak is a frame builder in New Hampshire who built Nancy's 650b all roads steel bike. His work is classic, understated and solid. Tom has been supportive of my bag work for a while and I was humbled when he recently recommended a client to me for custom bags. I was even more humbled when Tom himself ordered up a small handlebar bag. Tom said on the phone that while some folks are weight weenies, he considers himself something of a color weenie. Its always hard to choose colors from swatches on a computer screen, Tom picked a beautiful creamy yellowish color that fits very nicely with the honey brown trim.
Most folks go with a decaleur and internal stiffener for their bag and call it good. Tom had long been experimenting with methods of securing handlebar bags with a minimum of clutter and brackets. This bag come with a stout backstop sleeve and bottom Velcro straps to fix the bag to one of Tom's signature racks. The sleeve and the straps would be enough to keep the bag firmly in place for almost any situation, but it would have some sway if loaded up. Tom's solution is a clever internal stiffener. Made of coroplast, the stiffener is reinforced around the top rear perimeter with a thin band of aluminum strap, effectively creating a rigid box structure within the bag. The result is a secure bag, no sway, and a super clean appearance. In fact it might look a little "unattached" to the casual viewer expecting to see decaleurs and straps holding everything in place. (Bottom photo courtesy of Tom Matchak/Flickr) 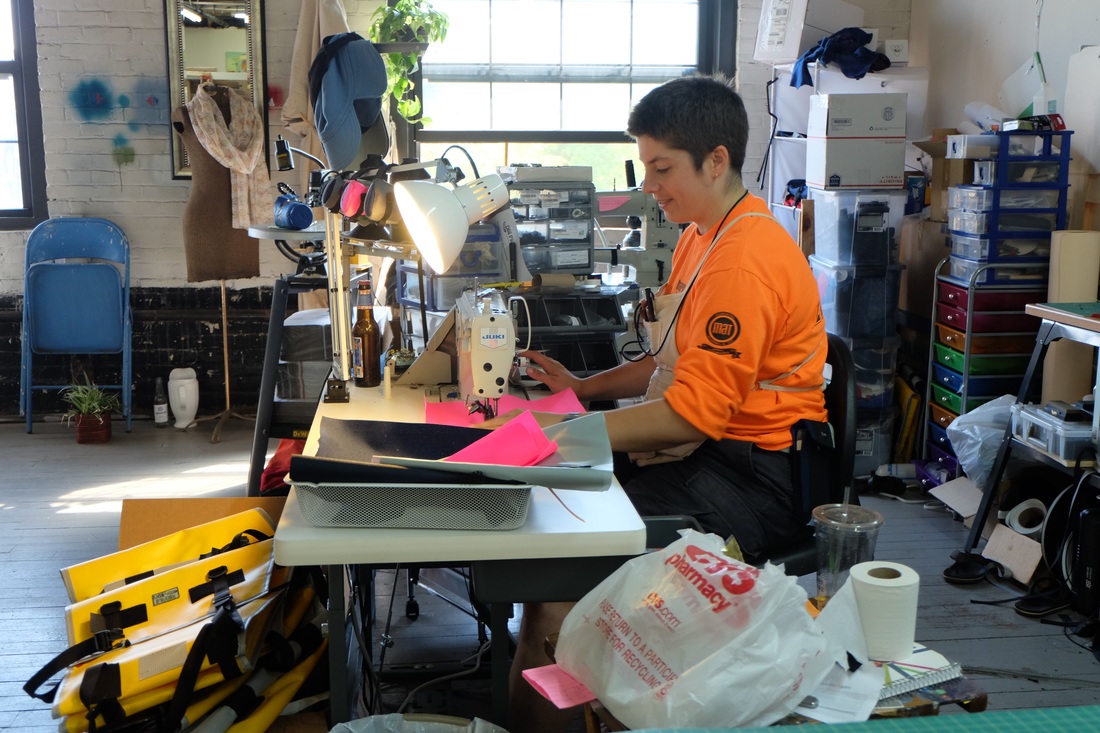 I recently had the pleasure of visiting my friend Emily O'Brien at her bag making studio in Somerville, MA. I know Emily through New England Randonneurs, but we have bag making in common and I admire both her bags and the success she has had with her bag making efforts as Dill Pickle Gear. Mostly I just helped out and sewed buckles on straps and cut out parts from a pattern, but we had a good time talking about bikes, bags, music, and whatever else. I learned a lot simply seeing her work and how she organizes her process. Thanks Emily!
I am currently working on a bag for randonneuring friend Geoff, who lives outside Boston. This bag is distinctive for it's overall height, coming in at 33 cm (~13 inches). It also has a number of cool elements that I've not done before, such as a decorative interior lining and a couple of interior pockets. There will also be a band of reflective material around the front and sides of the bag at the base. The attachment arrangement on the underside of the bag will be a nice improvement over what I've done previously.
Overall this bag is offering a number of challenges and new elements that I'll be taking with me into future bags and I'm grateful to Geoff for working with me on this really great custom bag. I'm super excited to see it mounted on his bike sometime soon. |
D. CainCyclist and craftsman. 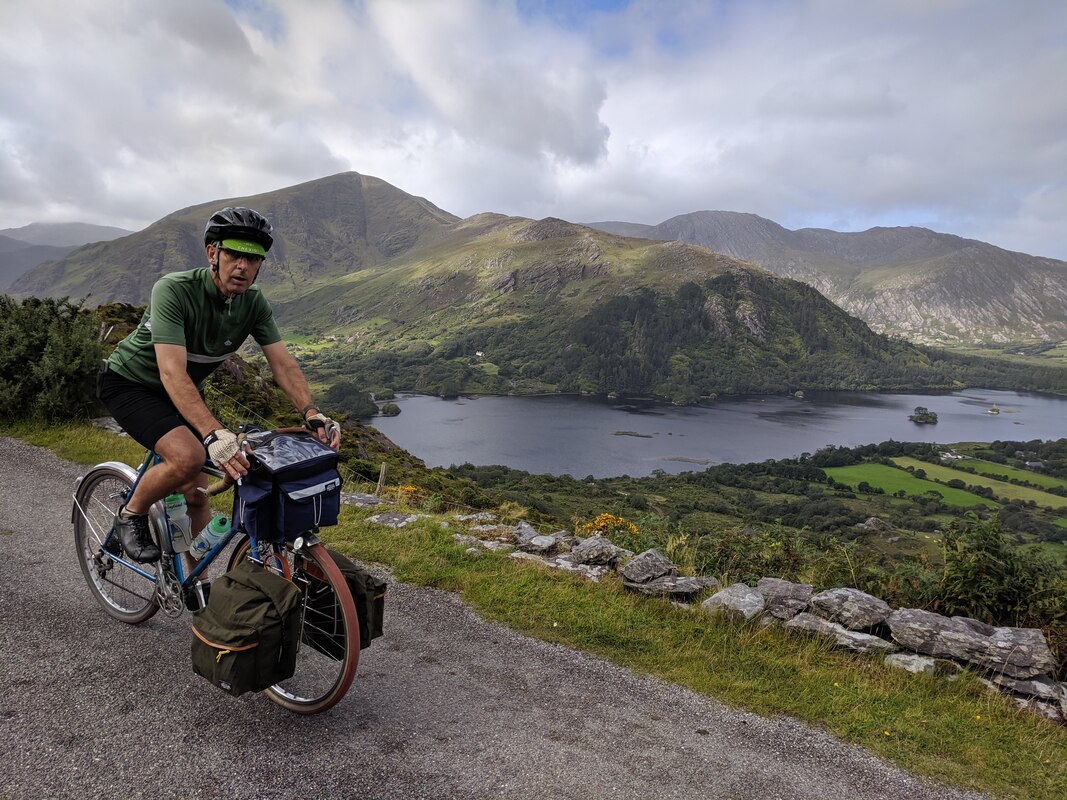
Archives
January 2022
Categories |
 RSS Feed
Copyright © 2023