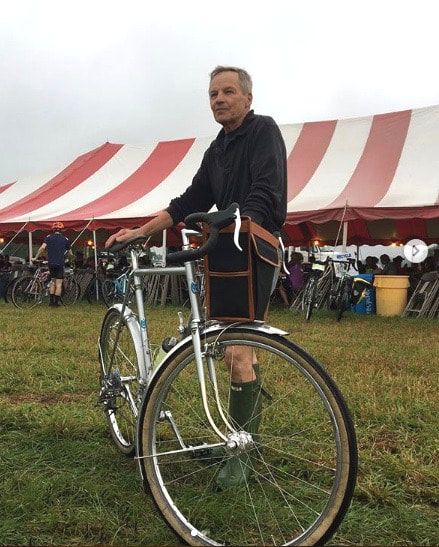
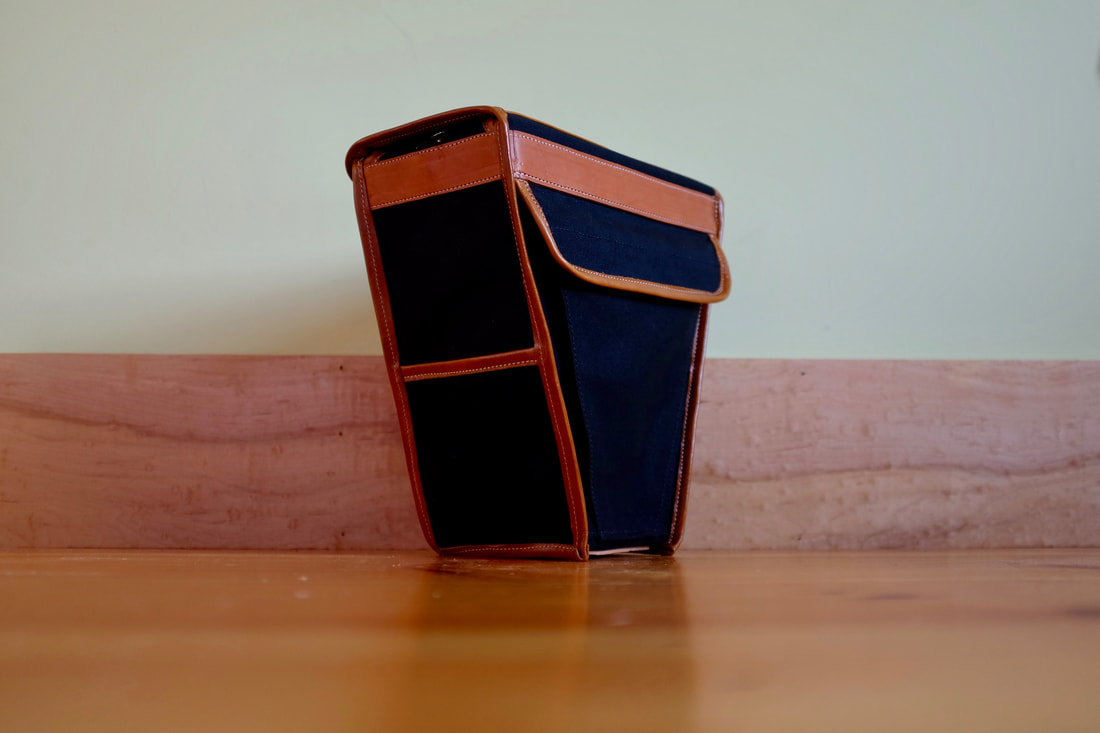
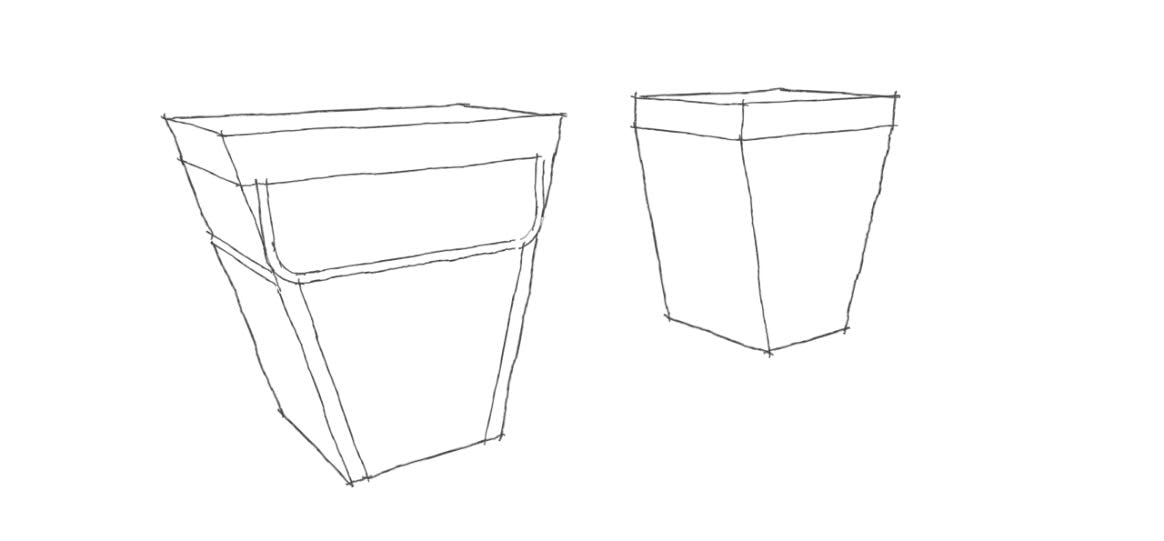
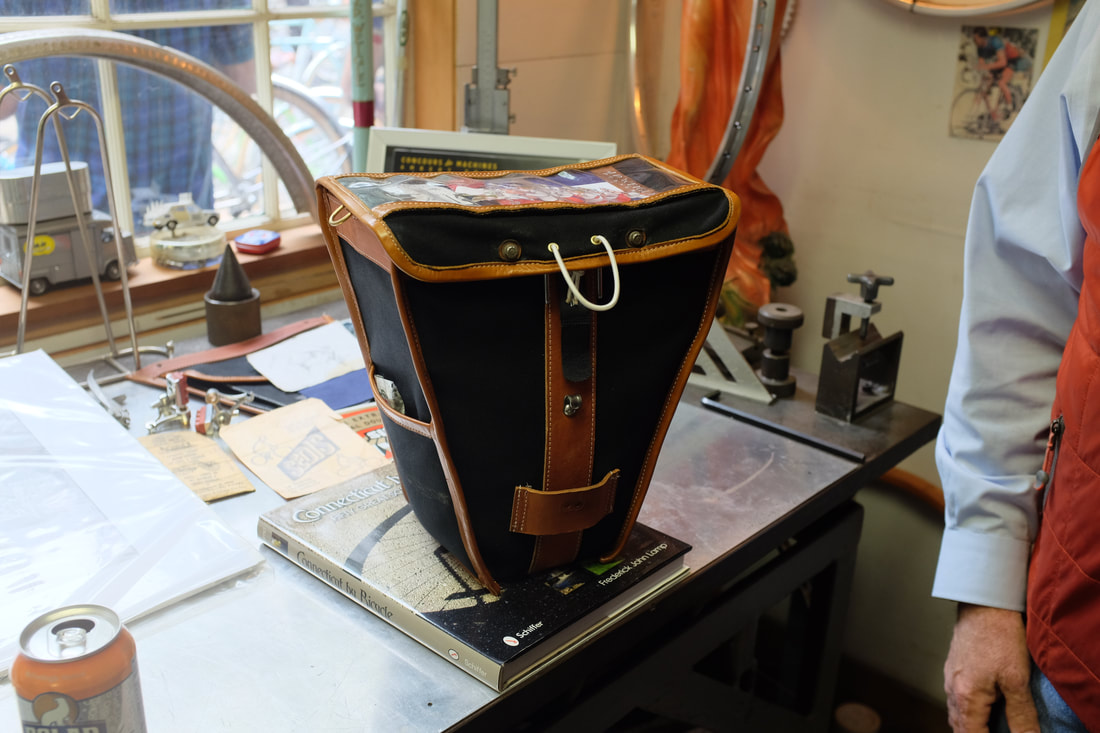
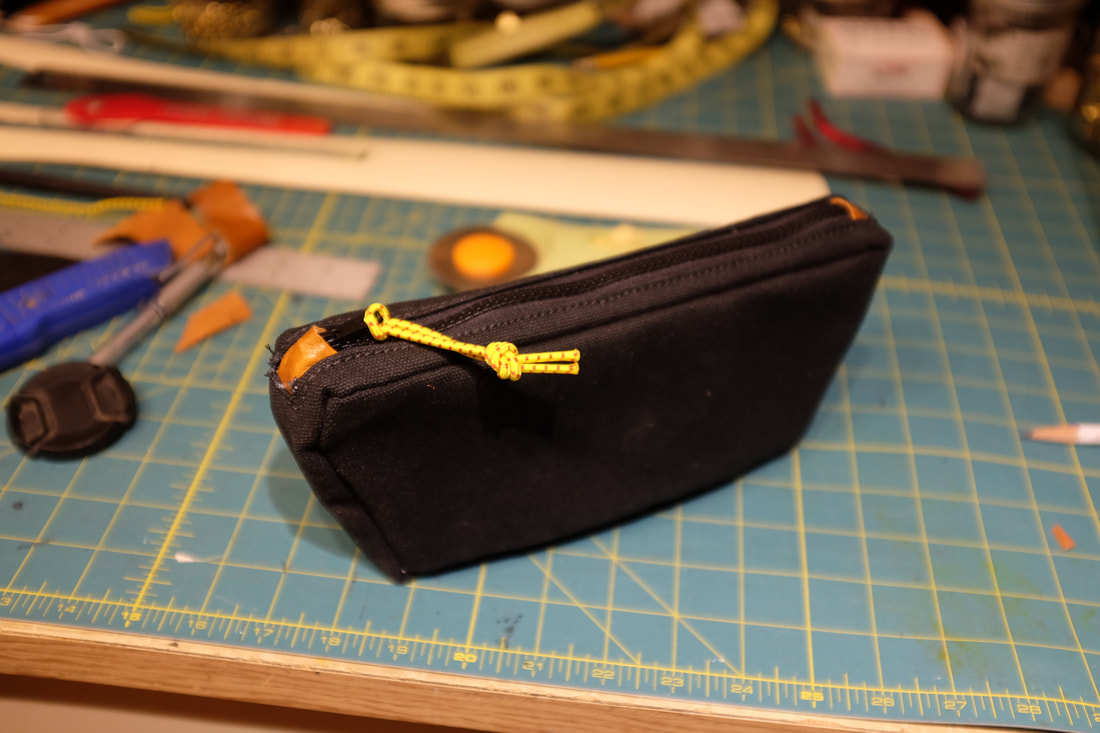
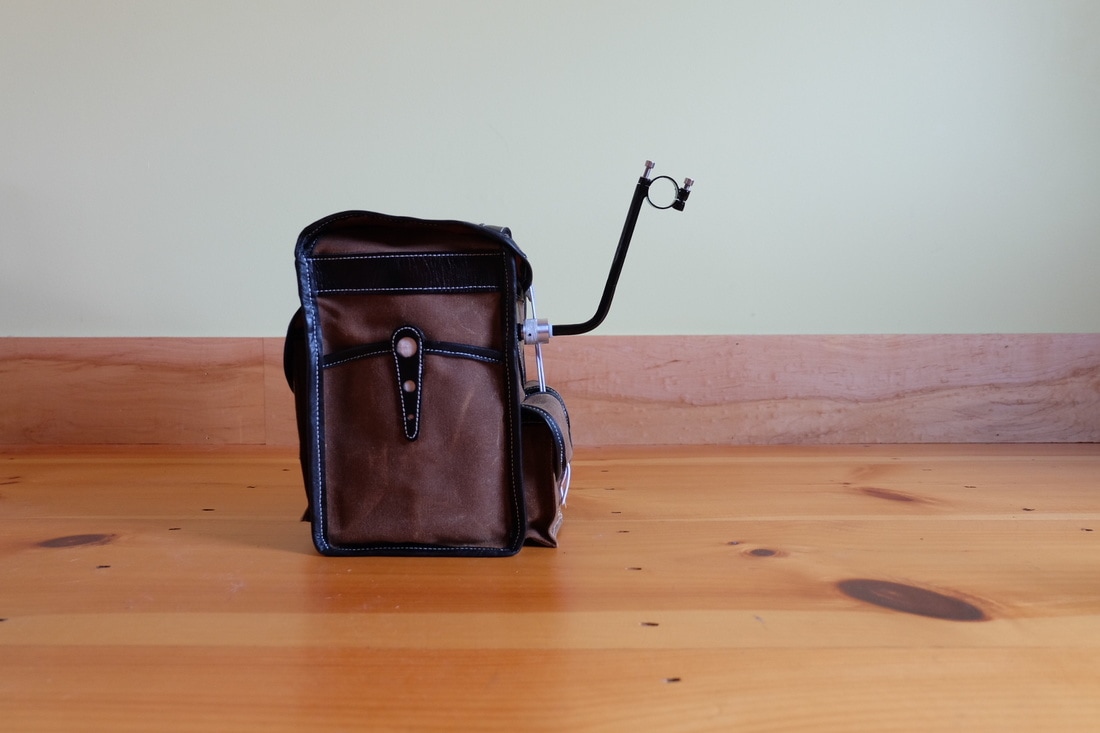
 In mid-July I got an email from Peter Weigle with a photo that showed a wedge-shaped piece of cardboard standing on the rack of one of his recent bikes. Would I be interested in making a bag to this shape? Did I have any suggestions that might be useful in bringing this idea to reality? Peter’s aim was to have a shape that lightened up the front bag--both visually and in weight--, didn’t bury his lovely racks, and maintained the usefulness of the map case found on standard bags. His intention was to put lesser-used items like tools and a spare tube at the bottom of the bag, keeping the weight low and centered in the small footprint at the base. Jackets, food and other frequently needed stuff goes in the upper portion of the bag. I was immediately taken with the bold shape and wrote back saying I thought it was a great concept and it would be a pleasure to be a part of the project. The goal became to have it ready for use at D2R2. We had a great back and forth with sketches, mock-ups and refinements including working out the wedge-shaped front pocket that tapers to the bottom that provides an expandable yet svelte storage option. I fed-ex’d the finished bag down with just enough time to fit it before heading to Deerfield. The shakedown ride at D2R2 proved a great success. After riding it hard, he was pleased with how it handled the rigors of the ride and stayed in place well. Shortly afterwords he made a couple of changes: preferring the location of the hook for the cover elastic to be a bit higher than I placed it (its always a challenge to find the perfect location for this detail!) and adding two magnetic buttons to the top flap to act as a automatic closure system with the decaleur bracket. An additional feature that came a short time afterwords was a making a small pencil bag that mounts inside the the bag. It rests at the top of the back panel for quick access to small items while riding and is held in place by the decaleur mounting bracket mounting bolts.
I’m grateful Peter included me on this project and look forward to taking this design forward.
3 Comments
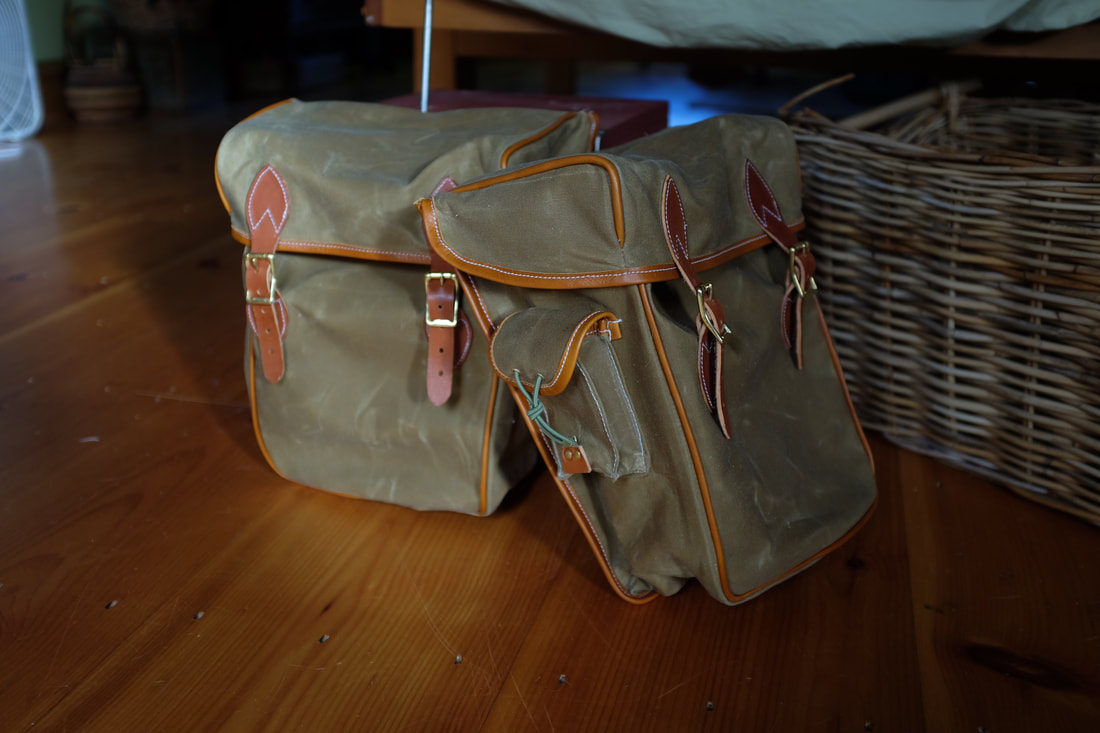
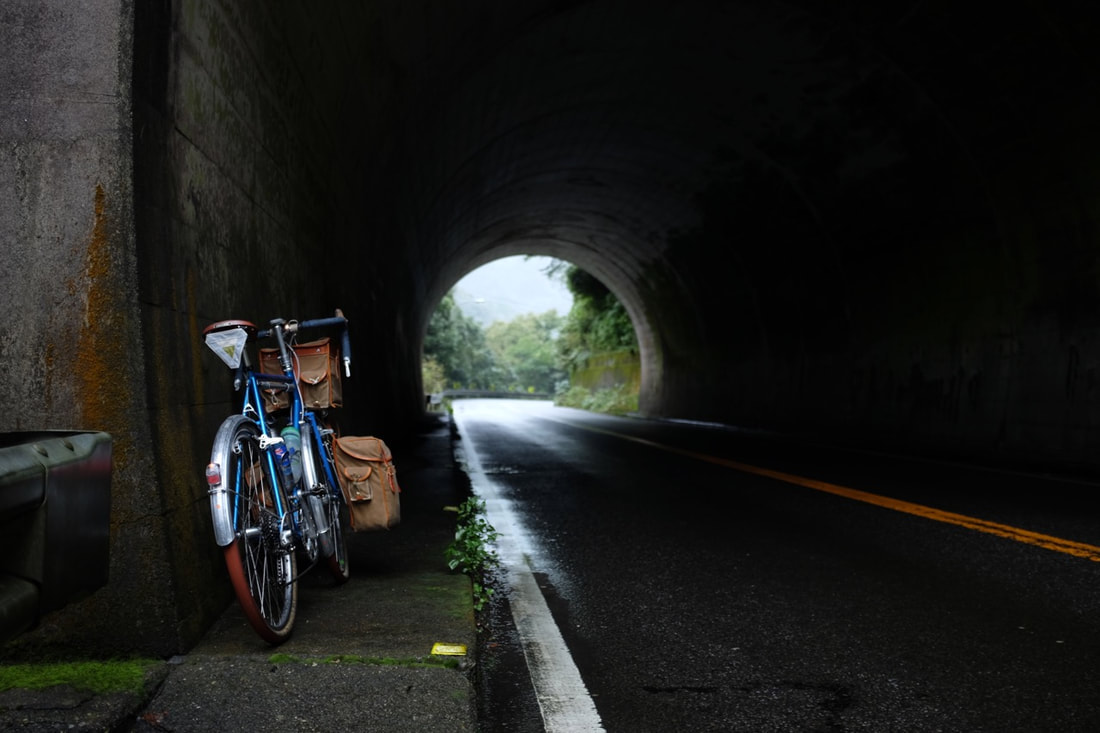
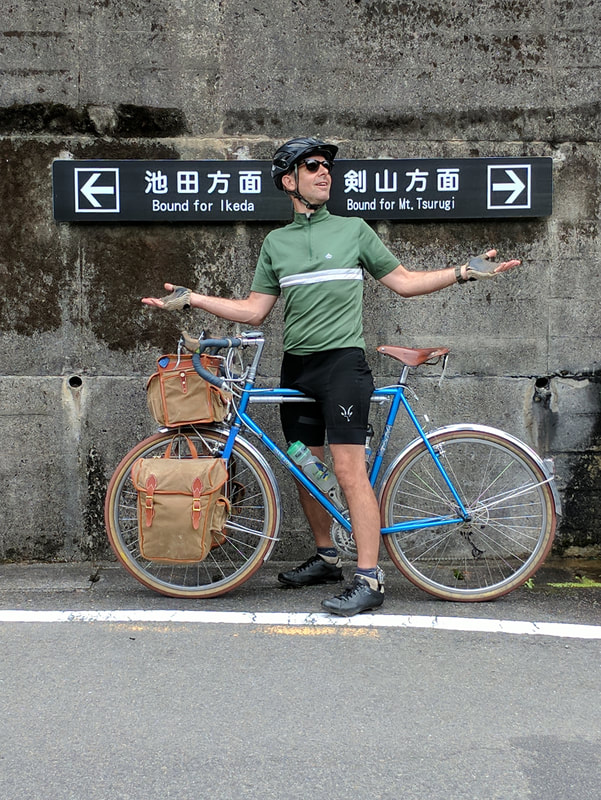
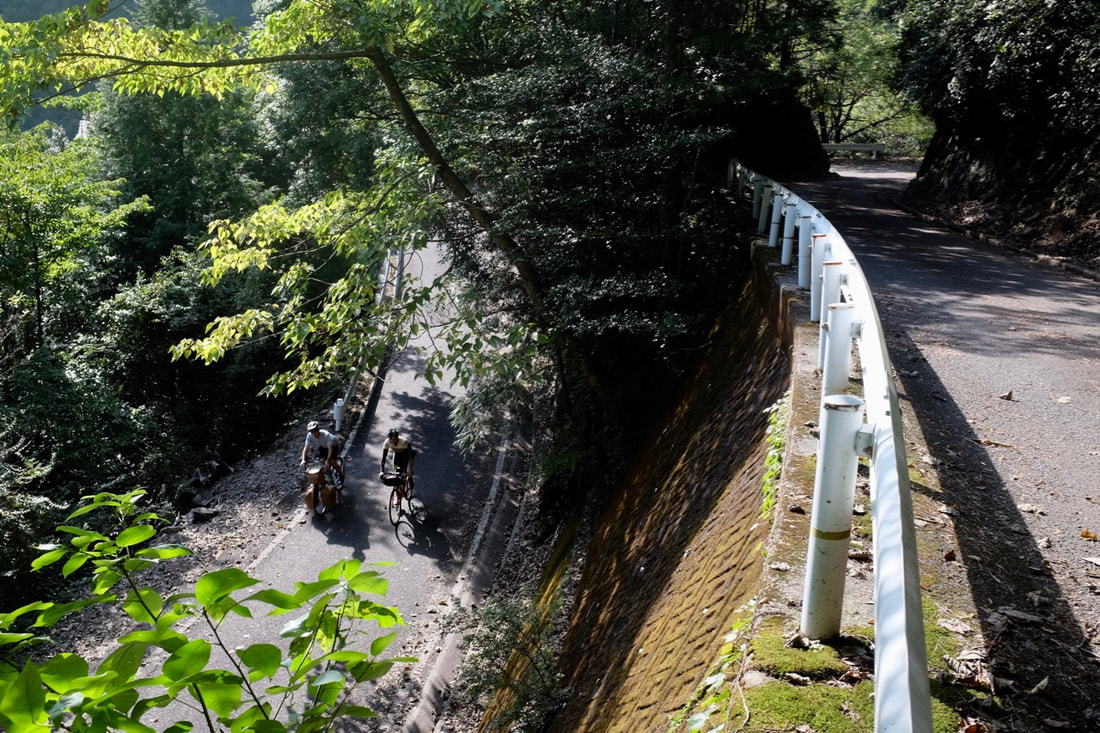
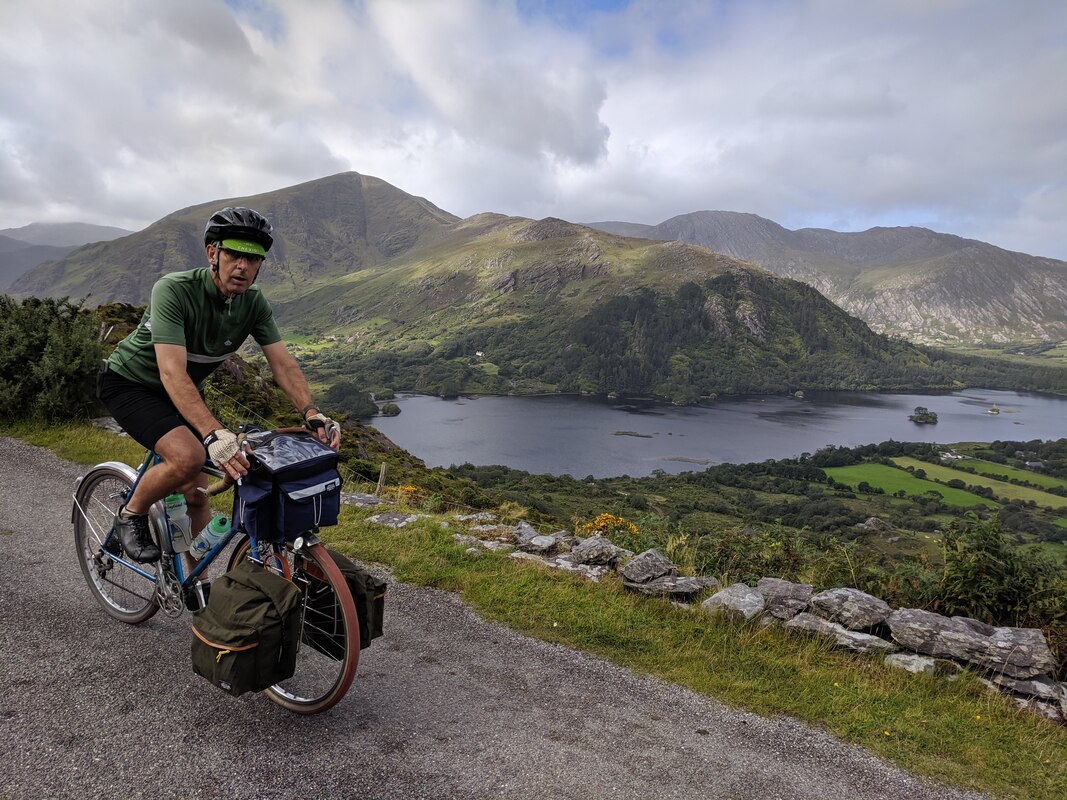
We were lucky enough to take a two-week cycling journey around southwestern Japan. Our travels were largely based on the island of Shikoku. Our plan included bringing out bikes and gear with us. I left the question of what bags to bring until somewhat late in the game. Initially thinking I'd bring a pair of smallish blue bags I'd made a while back I started to reconsider as the trip got closer; my stuff just barely fit with the existing bags, but it seemed like it could work.... As our departure drew near I decided it was going to problematic using these bags so I decided to make a somewhat larger set. With a tight deadline I pulled together a pair of waxed bags with leather straps and buckles and a small exterior pocket. The bags came out nicely (and match my DRB handlebar bag) and I was so glad I made the effort once we were en route in Japan. I had the space I needed and the bags worked really well. They are a perfect size for touring without having to leave too much behind, or for camping if you can be judicious in your packing. I learned a little too--the bags slid horizontally on the top bar of my low-rider racks and one end would occasionally slip off the forward end. Not a good thing! Although it didn't cause any mishaps. Gladly, I devised a solution: the brass D-ring (for a shoulder strap) had enough movement that I could slide it over the trailing top end of the rack top-bar and it created a firm hook. This will be an important detail to cover going forward.
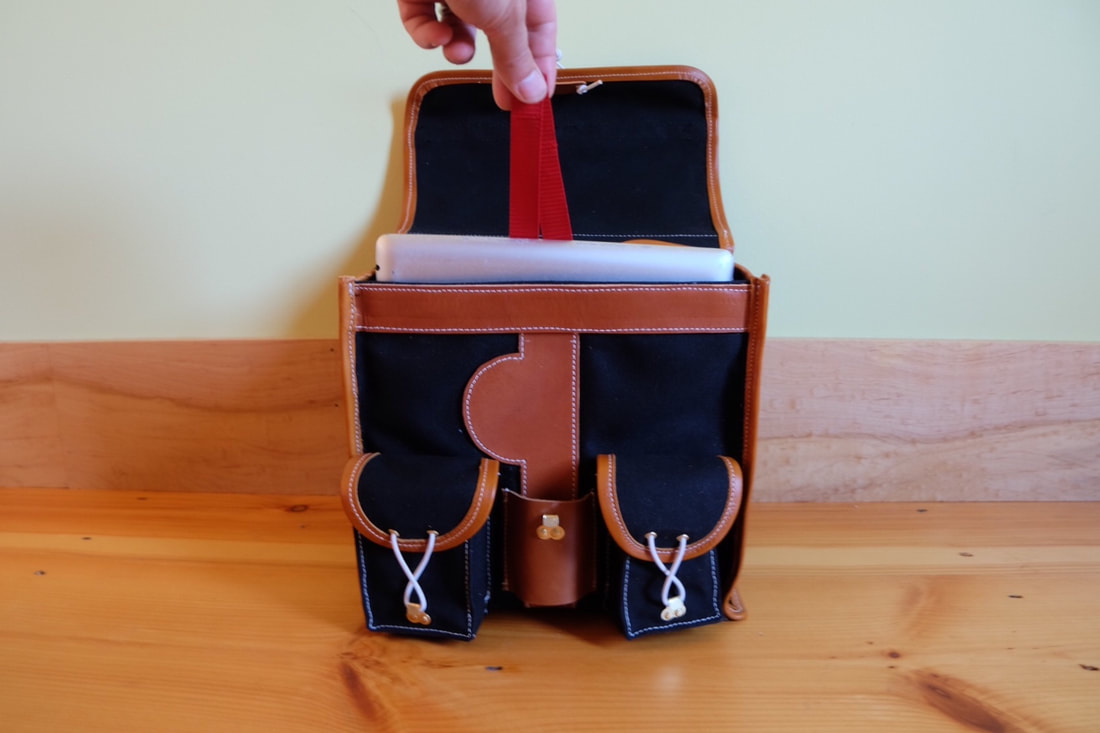
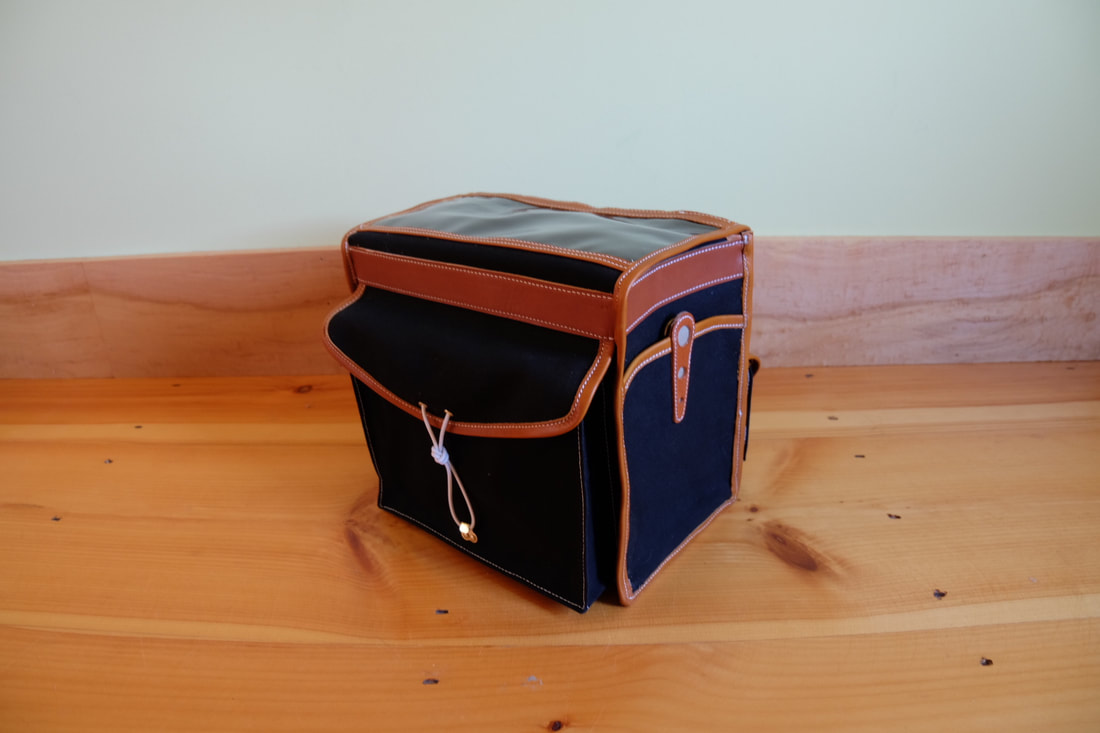
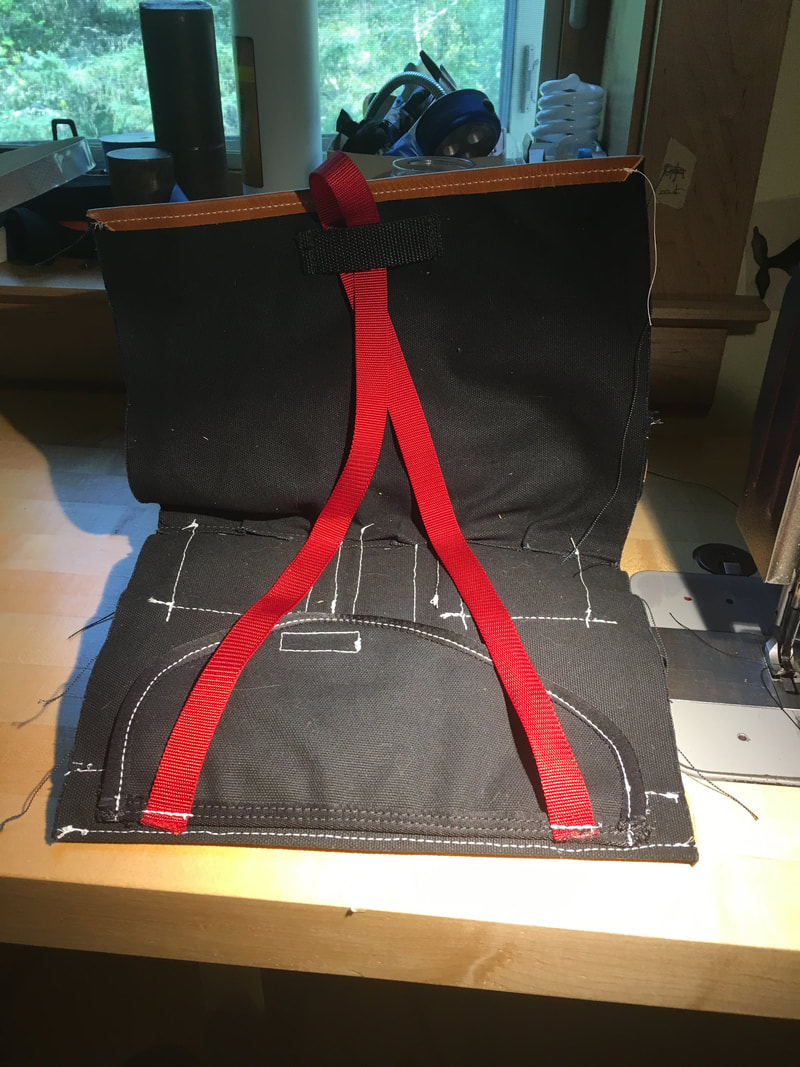
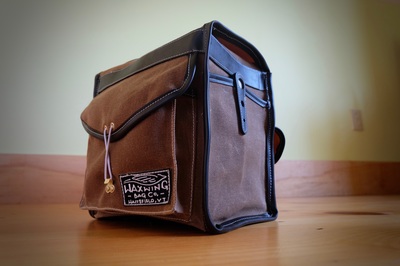
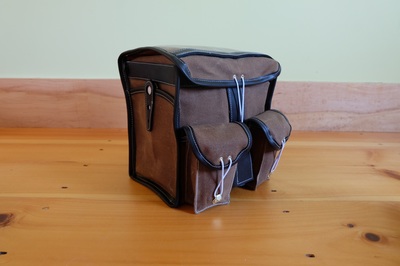
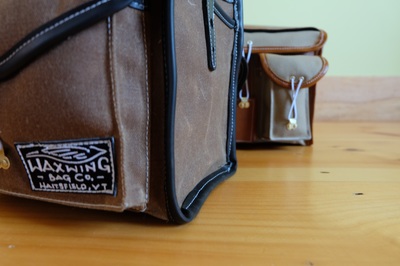
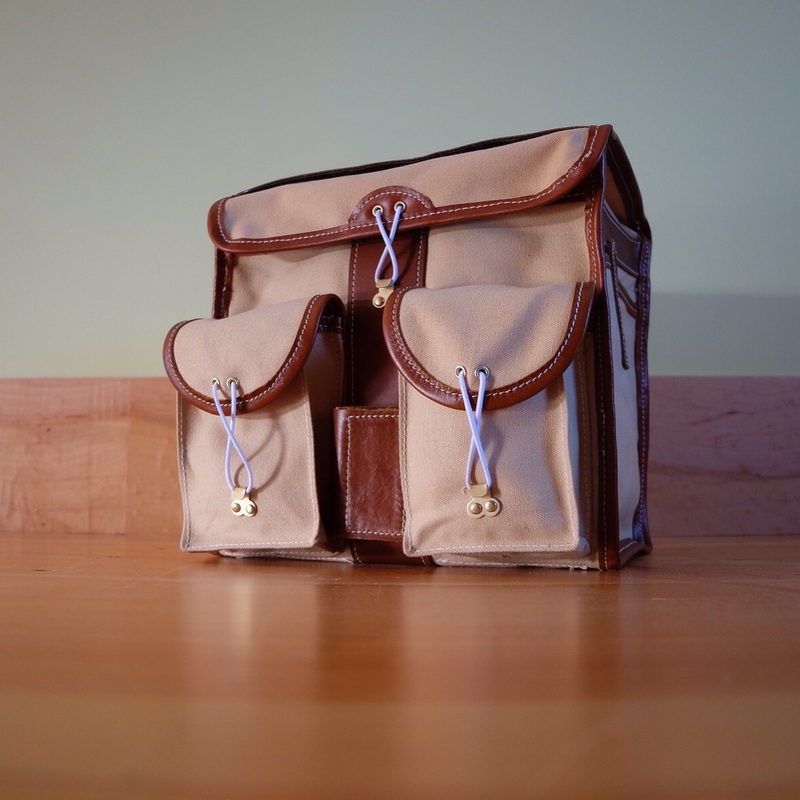
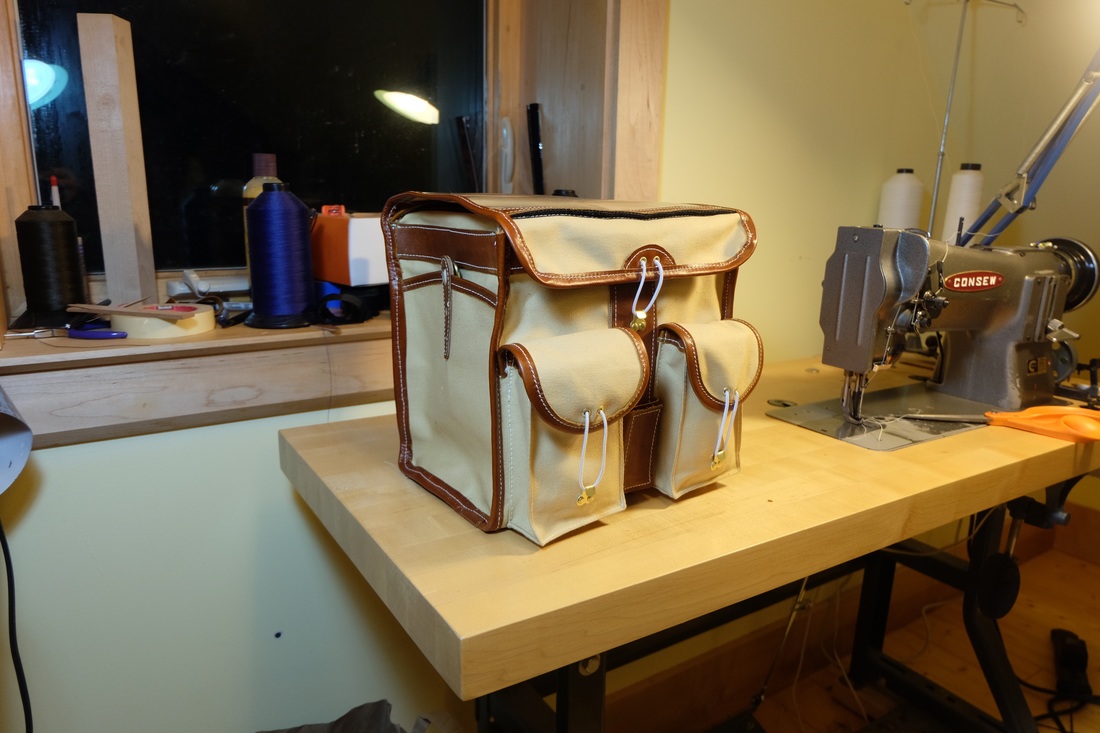
The bags acquired a nice pattina --beausage--and did their work admirably. I'm glad to have 'em. This bag is dressed down and dapper on the outside, but conceals a lot of nifty features. It is the first commercial version of a DRB, which stands for Dock-It™ Ready Bag. What does this mean? Let me explain: See in the image above how the vertical center strap on the back of the bag has a circular bump-out to the left? This is where the docking button will mount to the bag to meet the Dock-It™ decaleur that will be custom mounted to the bike. On the inside of the back the aluminum plate that distributes the attachment to the bag is covered by a velcro-closed flap (seen in bottom photo) so that no hardware is visible on the inside or outside of the bag. On the interior rear wall of the bag there is a pocket sleeve sized to hold an iPad Pro with a slick lifting strap. The strap meets in the center but splays out as it loops down below the iPad to lift the iPad evenly. Pull on the strap and out it comes.
Within that sleeve is a cover flap that will conceal the Dock-It™ button mounting plate. The only sign of the decaleur apparatus you will see on the outside of the bag will be two bolt heads in the top leather band and the small docking button centered in that round patch of leather. The trick is to get all this interior stuff to be what you need, where you need it, but not have any (or very much) evidence of it on the outside where it might be seen. Getting that to happen is an interesting challenge! The Velcro straps on the bottom are specifically positioned to fit the custom rack that Mark Guglielmana built for this owner. Mark suggested me to the customer for this project and it's been really fun to work collaboratively like this. Lastly, the small leather tabs on the sides of the bag that conceal the d-ring carrying strap have a tan color in the windows that coordinates with the bike highlights. Tom Matchak has been working steadily for the last year or so on the creation and refinement of a new kind of decaleur called the Dock-It™. Decaleurs are the mechanisms that have evolved over time as a means of stabiliziing and attaching a front bag to the bike. The earliest were simple straps from the bag that went up and around the handlebar, but more sturdy and user-friendly forms have become standard over the years.
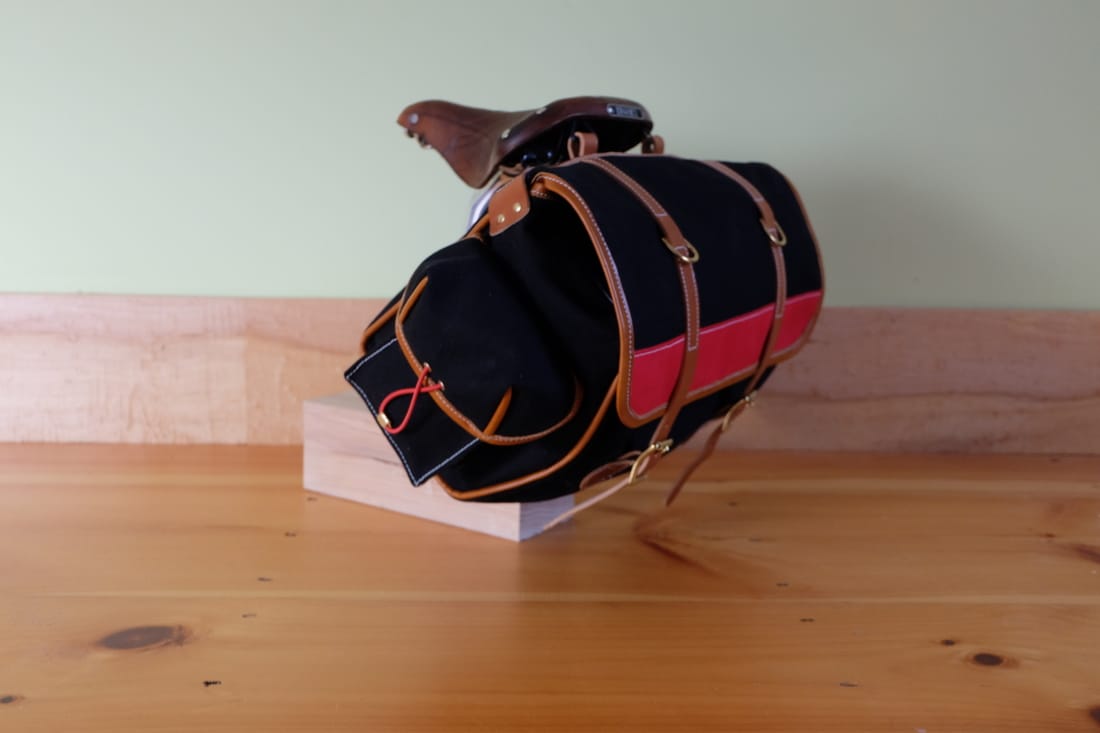
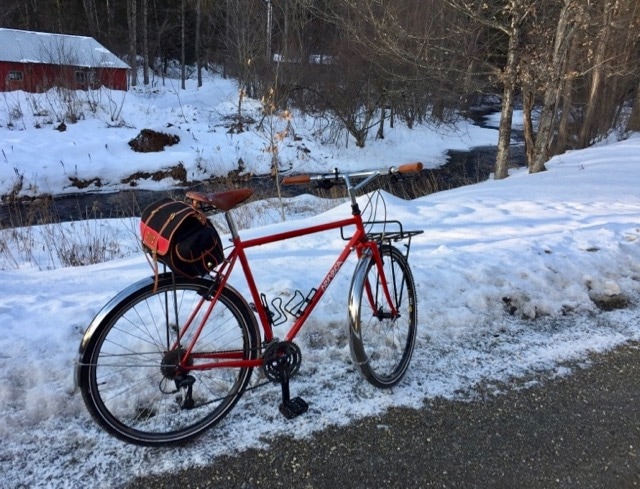
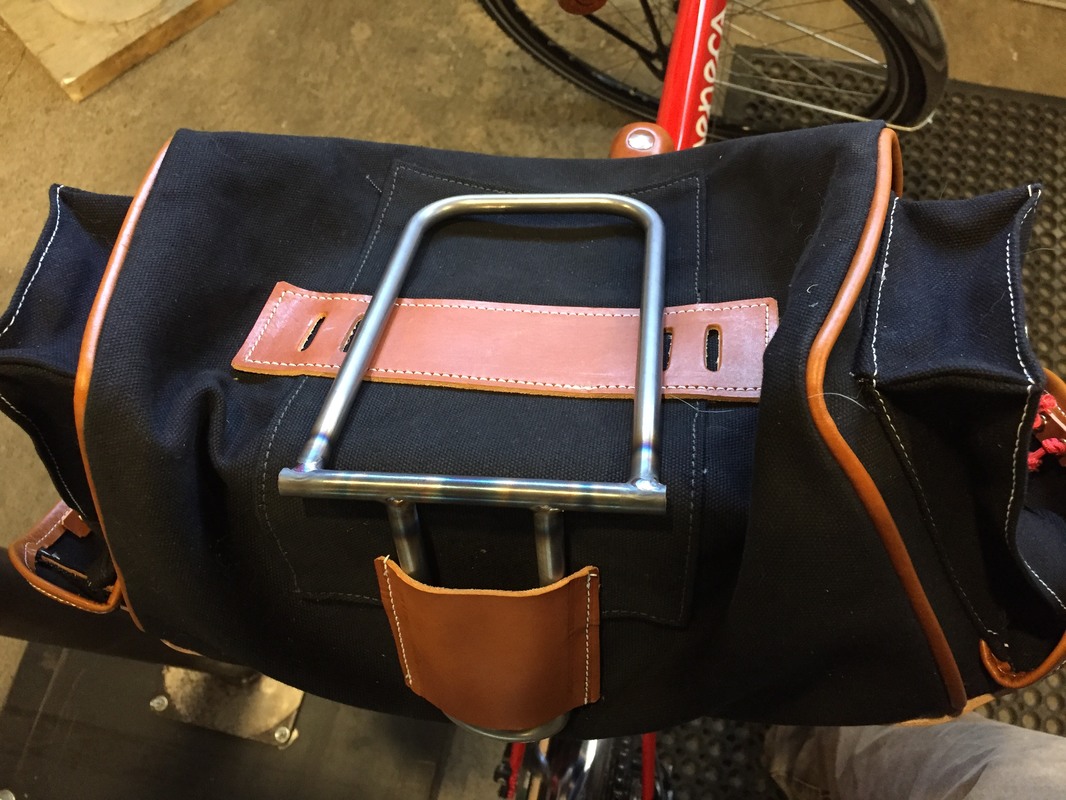
Tom's design streamlines the connection between bag and bike, allowing for less clutter and custom placement of attachment points on both the bag and cockpit of the bike. Last winter Tom asked if I'd be willing to be a tester for his new design, and of course I was anxious to try it out. I mounted an early prototype to an old bag and began using it through the 2016 riding season, and I'm still using it! I was able to offer a few suggestions for refinements based on use, and the unit is an even better design than it was then, although I'm still using the original with no complaints. As a bag maker, it made sense for Tom to reach out to me. I've done work to evolve the bag-side arrangment to work with the Dock-It™. Because the design allows for total flexibility, the bag no longer needs to conform to the established conventions that match traditional decaluers--namely a centered wear strip down the back of the bag. The Dock-It™ can be places anywhere on the back of the bag, so the configuration of pockets and lid closure are now free to be rearranged. I'm confident the Dock-It™ will find a home with both builder's who are excited about new and creative ways to build out their designs, and owners who are interested in a new and effective means of bag attachment. Tom and I are partnering on this project. I will be the retailer and be making bags as needed that conform to the needs and designs of Dock-It™ customers. Read more here: www.dockittm.com I was recently contacted by Jesse Fox of Seneca Cycle Works and we schemed up a saddlebag modeled on the Carradice Nelson. Part of the fun of a custom bag is that you get to make it become a part of the overall bike scheme, and Jesse's bike is red with black accents, so we went with colors that mimicked the bike, but didn't try to compete for attention. We also dispensed with buckles on the pockets since they can be fiddly to open (and close) when you just want to get into them. I also tried to flatten out the wooden support spar on the inside since I find the dowels to be intrusive when you are trying to overfill the bag, although I'm not sure my solution made a significant difference. As we all know, the downside of large saddlebags is the dreaded thigh-rub, where the bag entends perpendicular to the bicyle behind the saddle and can hit the back of one's thighs when pedalling. To solve this, Jesse and I planned the bag so that it would mount on a custom rack that would both support the bag but also hold it out from the seatpost a few inches. Jesse's progress photos of the rack remind me of a randonneuring front rack turned around, which sort of makes sense when I think about a big saddlebag basically being a tilted box hanging from the saddle. Rather than try to coordinate sizing and placement we decided I would just finish the bag based on a quick sketch and then Jesse would build the rack to fit the connection points I'd worked into the bag. A strap will run through the leather wear patch to fix the bag from below.
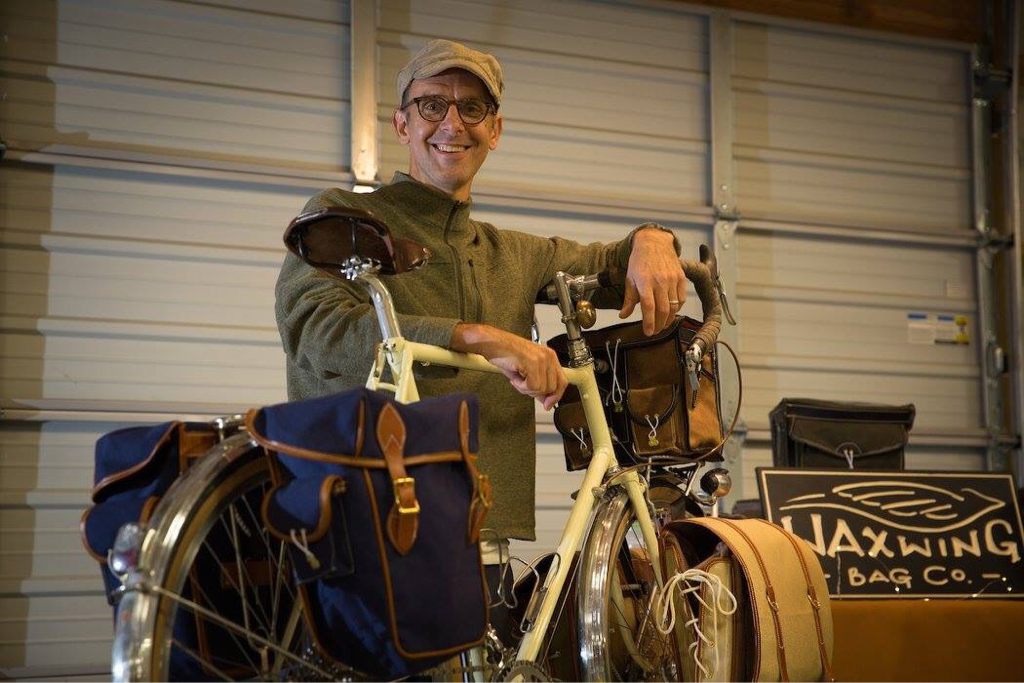
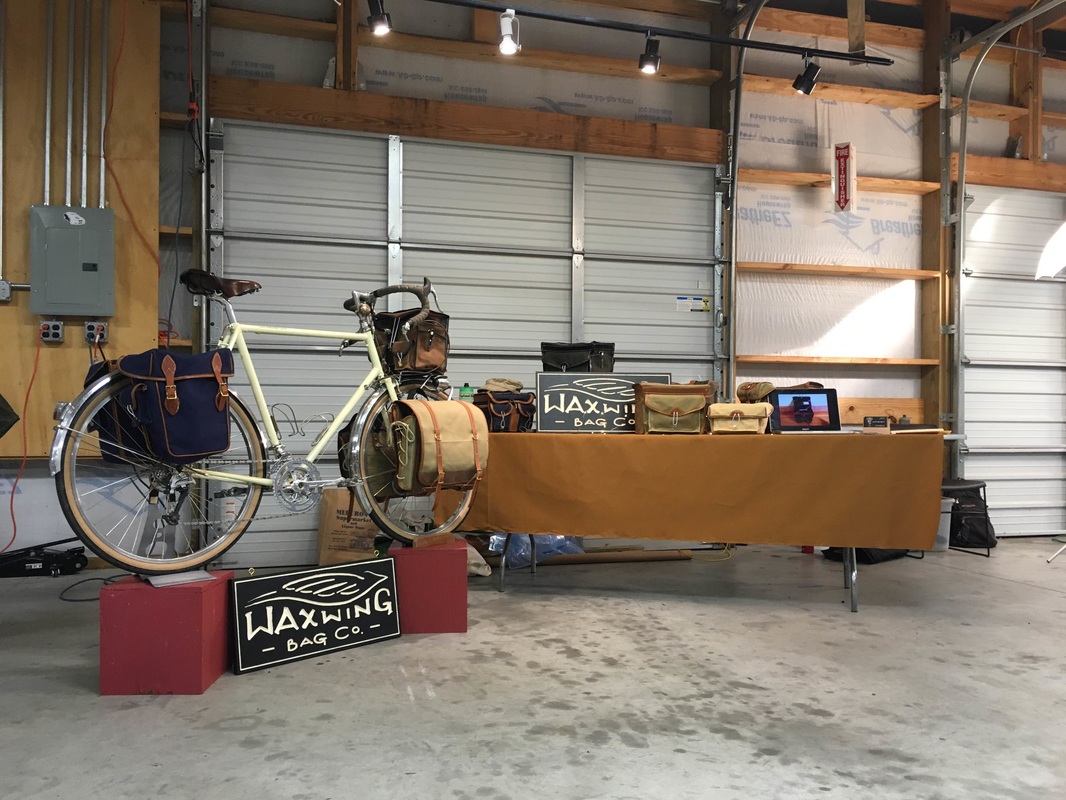
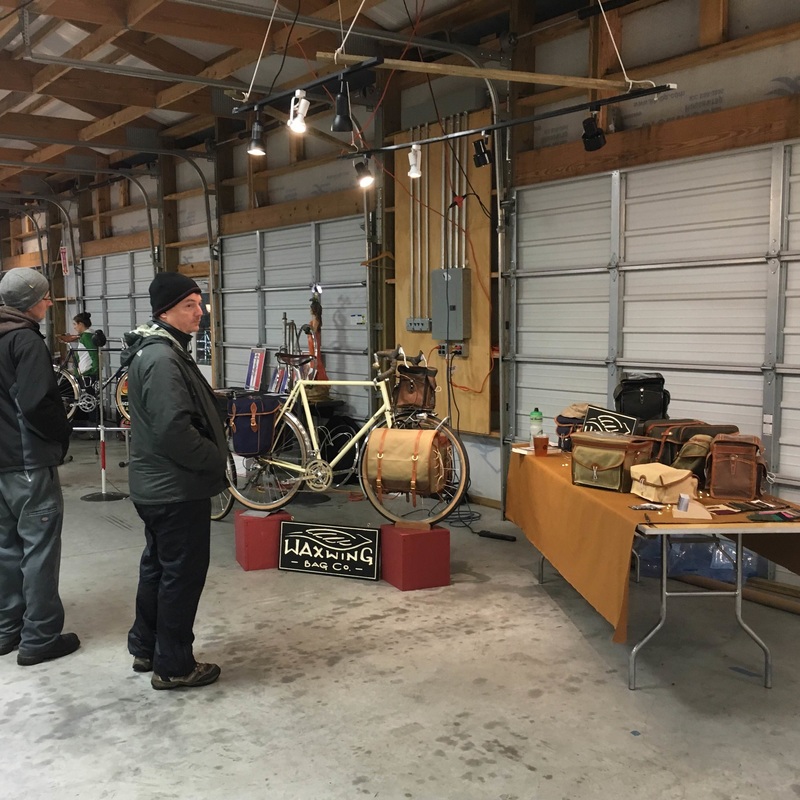
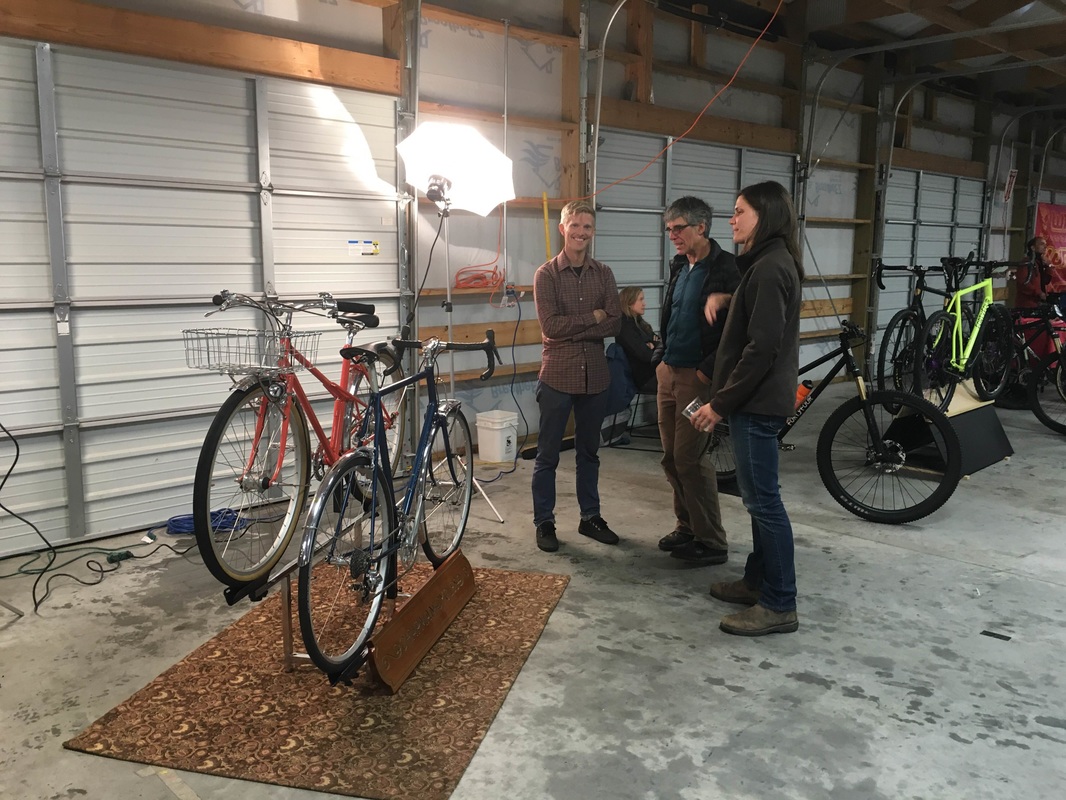
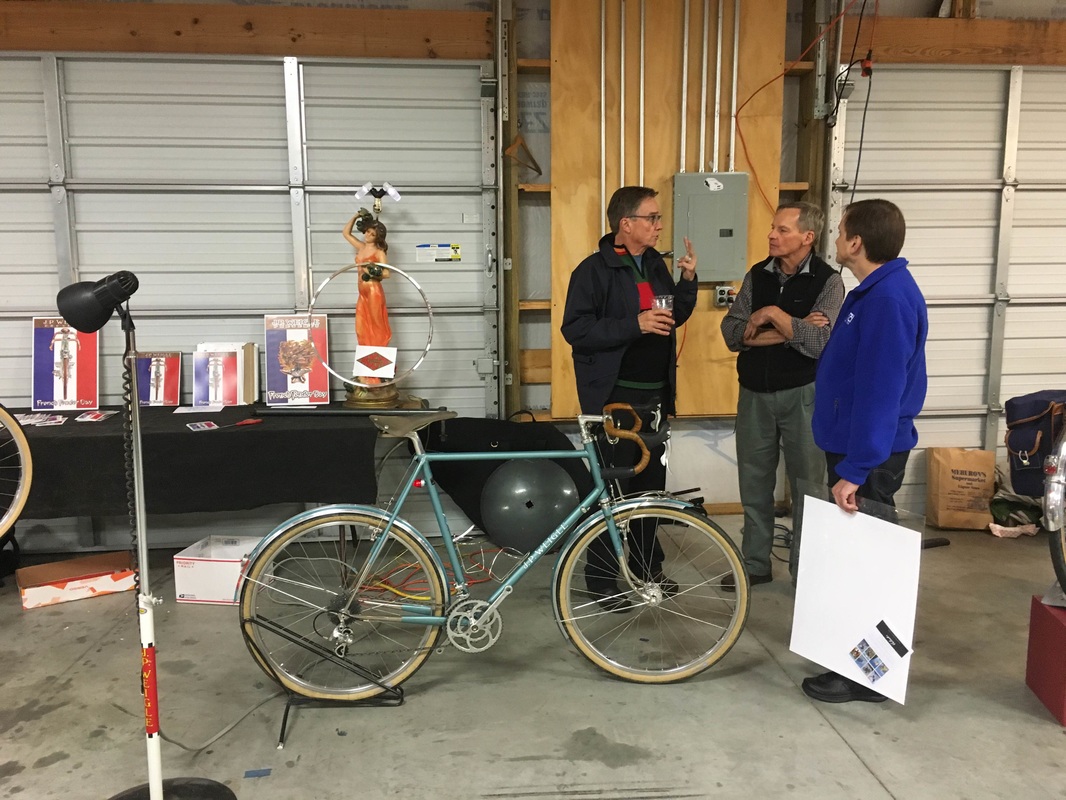
I love projects like this and am grateful to Jesse for his interest in working with me! I hope we get to do it again. (Middle and bottom photos: courtesy of Jesse Fox) photo: © Wil Matthews Waxwing Bag Co. had a successful first outing at the New England Builders' Ball in Thompson, CT on Friday, September 30th. It was a big push to get ready and very exciting to present my work to visitors. Its been a long-time desire of mine to "Attend the Ball" and this year finally felt like the right time and I'm glad I did. I used Nancy's Tom Machack bicycle as the model display and had a nice set of duel-colored panniers on the front low riders, a new waxed handlebar bag that joined the bike with a custom Dock-ItTM decaleur. On the back of the bike I mounted a smaller set of rear touring panniers in blue with brown leather trim. Additionally, I had an assortment of handlebar bags and various other types for display on the table. Oh yeah, I also had some nifty carved signs a pal of mine created with a CNC machine, adding a nice professional look to my signage. To my delight I was positioned between Peter Weigle on my right and Brian Chapman on my left, both amazing constructeurs whose work I admire and take great inspiration from.
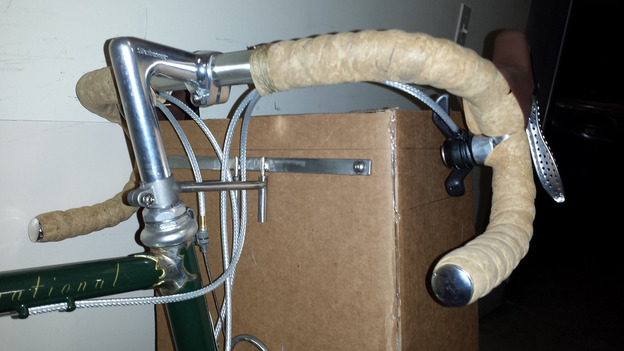
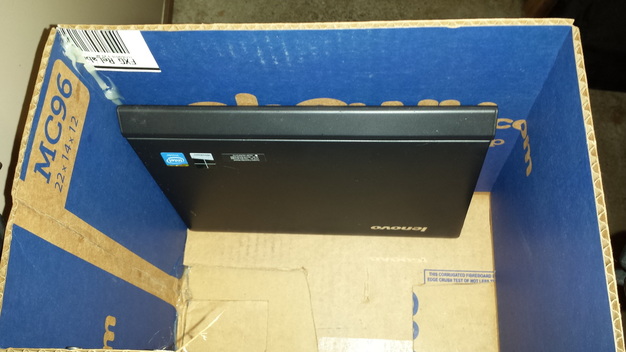
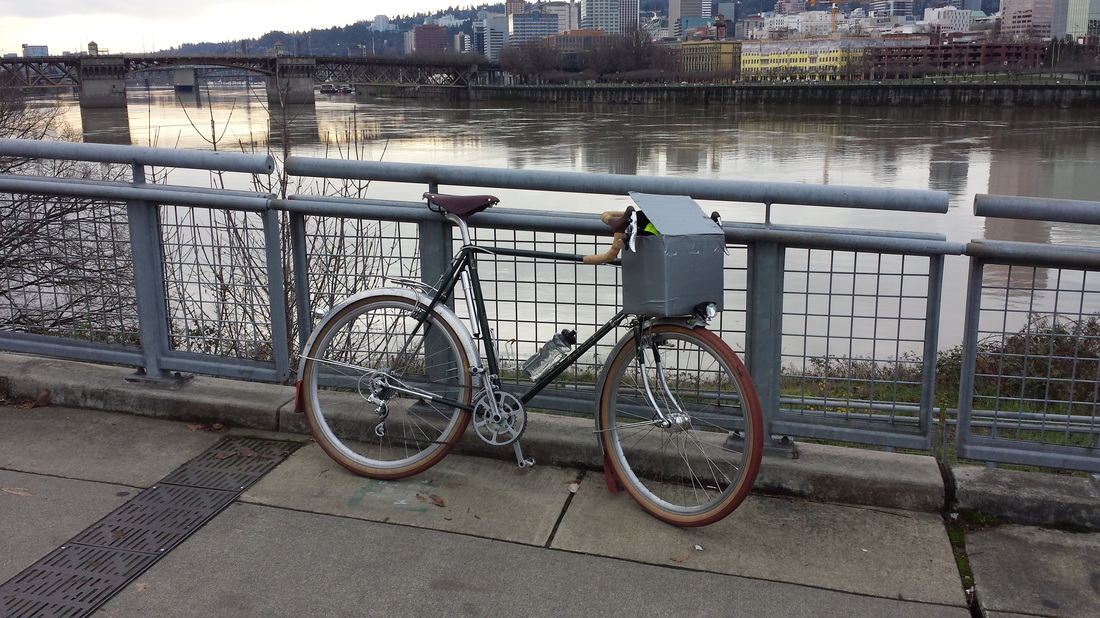
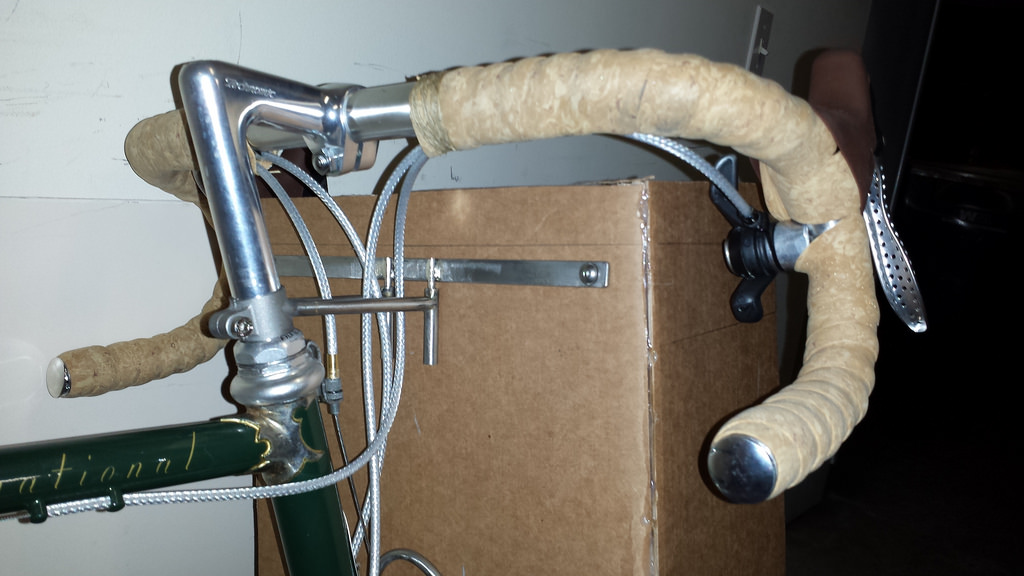
It was fun chatting with curious onlookers and discussing the finer points of bag construction and the like. A bunch of folks took my card and a few expressed interest in possible projects, which is largely what I expected. Looking ahead to next year I would love to have, say, three bikes, each kitted out with their own specific set of bags--improving upon the little-of-everything approach this year. It was a great evening and I look forward to being back next year! This is Mark's cardboard mock up. Note the need to fit the bag within the shifters located on the inside of the handlebar drops. His model also allowed him to check both the height, but also the reach of the decaleur. If I light were affixed to the top of the rack, he'd be able to check that too. (All photos courtesy of Mark G./Flickr) Deciding on size and color can be challenging. Some folks know without hesitation what they want, others are less certain. Here's the story of one customer who didn't leave anything to chance: Mark G. of Oregon is an exceptional craftsman, wielding a torch with deft precision and bending a fork radius with exacting care. Not surprisingly, when it came to planning for his bags he made sure he knew exactly where he was going before we started the actual bag making process. You can see here Mark was thinking about typical stuff that he'd be carrying in his bag that he needed to account for. Using cardboard, he mocked up his bag and was able to mount it atop his rack and make sure it fit where he wanted it to. A front bag sits within a virtual box defined by the decaleur, the rack, the handlebars and the brake levers. (Were a light mounted at the front of the rack he’d have been able to make sure there was no issues there either.) In addition to the functional concerns, his mock-up allowed him to look at the overall proportions in relationship to the bike. Too tall? Too narrow? Cardboard is cheap and easy to modify and takes a good amount of guessing out of the process. (Its worth mentioning here that 90% of the bags I make tend to fall within a reasonably narrow range of dimensions, so even if you aren’t interested in going through the work that Mark did, we’ll have a good sense of what’s appropriate for your bag. Any unusual measurements would be thought through before proceeding.) In the meantime I sent Mark a small package of canvas swatches with leather trim options. This facilitated choosing the colors he wanted and I was then able to send him a test panel that he could affix to his bag-box. This allowed him to get a feel for the color choices in relationship to the frame and components. There’s nothing like being able to see all the elements together to know if your ideas are going to work the way you’d like. Here Mark has fixed the sample panel I made for him to the side of his text bag, allowing him to step back and take in the overall impression with the entirety of the bike. This Mark character is a wise man... See that light mounted on the front of the rack? The box and the light aren't exactly getting along here. It's time to get out that box cutter and resize the bag (or relocate the light if you need a bag this big). I do my best to make color suggestions, but I’m learning as I go and sometimes combinations that wouldn’t occur to me look great, while other times what I would think seems like a logical pairing isn’t quite as strong as I would hope.
I you want to leave nothing to chance, do as Mark has done, but if you want to just talk it through and rely on our mutual ability to sort it out, that works too! I recently was presented with a fun and new challenge. A customer wanted a bag built without leather--a vegan bag.
(You can read a blog post from Norther Cycles in Portland, OR about how this bag was mounted with a custom alloy stiffener and decaleur here.) Glad to comply, I started looking into materials that would approximate the look and feel of leather but meet the vegan mandate. Since the decision was to go with a waxed rust brown canvas and black trim my material selection was guided by the idea of using EPDM as my "leather". EPDM is rubber roofing membrane that you'd see in vast acreage atop any flat roofed big-box type store. It's tough and durable and seems to come in one color: black. Having decided on the material, and happening to have a handy supply on hand from an old construction project, my task was to find a way to buff it up a bit and give it the polish we associate with leather. A quick look on the interwebs and I found the suggestion to use silicone as a polishing agent. I should have run down town and bought a can of silicone spray, but since I had a tube of silicone caulk, I glommed some of that out on my material and let it set. Later I came back, rubbed off the dry material and found that the rubber underneath was smooth and shiny. It was a bit of work, but it did the trick. I also experimented with using petroleum jelly but it's shine wasn't quite as good as the silicone. Typically with leather I thin it when I need a different thickness than what I have on hand. With the EPDM I did the opposite; I layered up as much material as I needed and laminated the layers together. It worked great. Looking at the finished bag, I wouldn't know its not leather trim. I am really pleased with how it came out. Had the customer wanted brown, that would have added a degree of challenge to the project. In the looking around I found rolls of what seemed to be bamboo fabric that look great and seemed like it might work, but also cost a kings ransom. I'll be keeping an eye out for possibilities when the next project comes along.
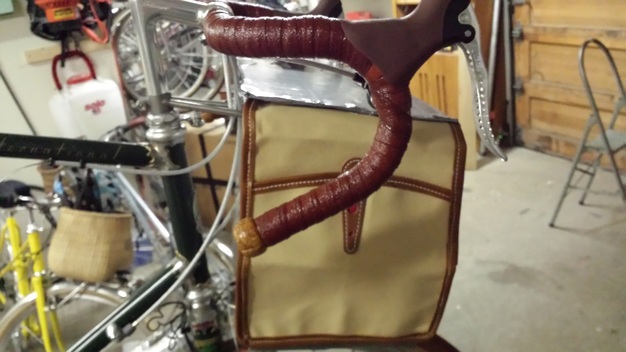
Mark is doing a really amazing job reworking a Raleigh International into a low-trail 650B randonneuring bike. Among the work he's done is re-raked the fork, rebuilt the seat stay bridge, new cantilever brake posts, various braze-ons, cable guides, building some clever custom racks, etc... It's impressive to see his work and we've been going back and forth about his handlebar bag that will join this great bike. Theres plenty to work out: size, color of fabric, trim and details, attachments, and so on. Whats fun is how much he has taken the task in hand modeling the bag in cardboard and altering it until it is just right. His work helps insure that the final product will be just right, without any unanticipated issues.
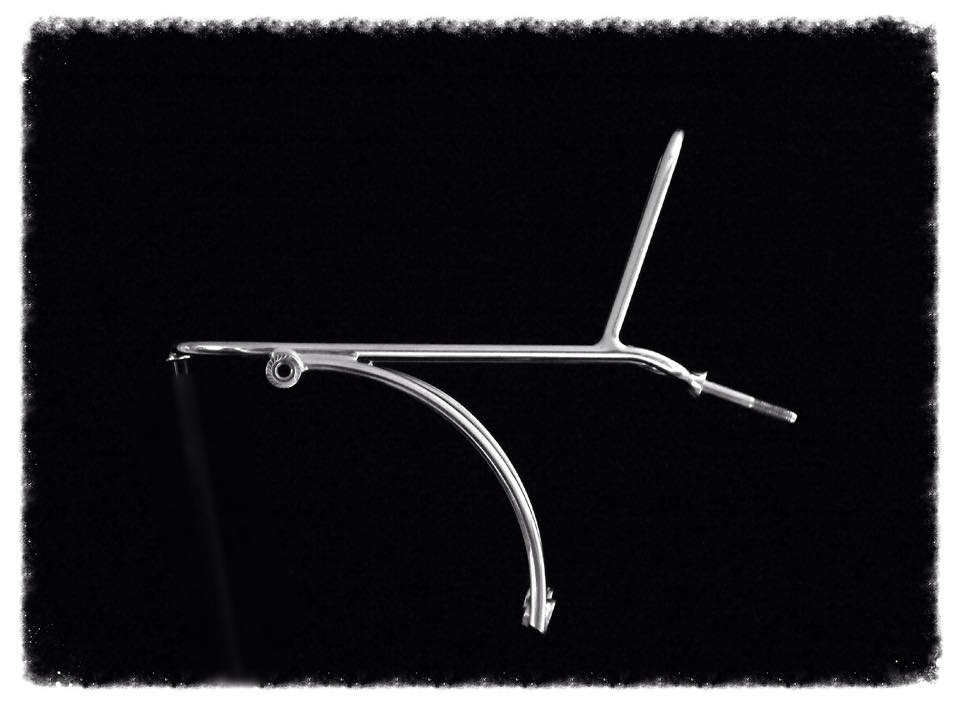
We've also done a lot to sus out a color scheme, with me sending him swatches and him trying them out against the bike. We've landed on a cream color called "wheat" with darkend brown leather and a small touch of red to compliment the fine red details on the frame. I'm excited to see it all assembled as one. Additionally, Mark makes some pretty sharp decaleurs (see top photo) that improve upon the weaknesses of the common Velo Orange offering, which has a weld that takes a lot of abuse. Mark's decaleur solves that issue with a robust sleeve. I'm thinking one of his decaleurs might be the right fix for Nancy's decaleur which gave out last summer. (Top and bottom photos courtesy Mark Guglielmana/Flickr) |
D. CainCyclist and craftsman. Archives
January 2022
Categories |
Copyright © 2023

 RSS Feed